Contents
- 1 Recommended Surf Spots in Chigasaki
- 2 Surf Spot Details
- 3 Stay Tuned with “Shonan Chill Time” – Your Go-To Guide for Shonan Events!
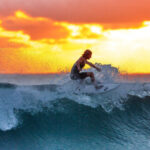
Recommended Surf Spots in Chigasaki
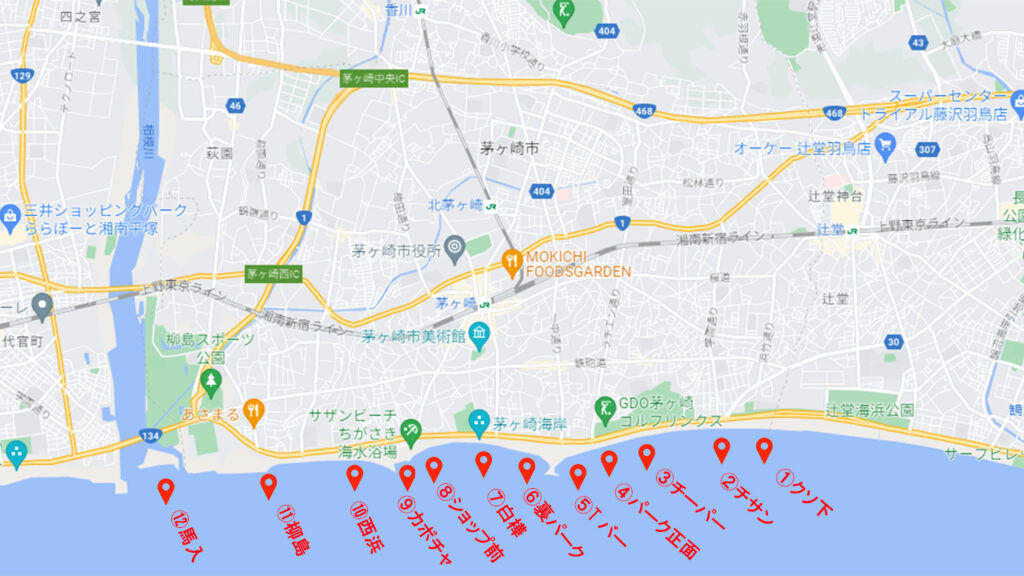
The main surf spots in Chigasaki, Shonan are, from east to west:
Kusoshita, Chisan, Chiper, Park Front, T-Bar, Ura Park, Shirakaba, Shop-shita, Kabocha, Nishihama, Yanagishima, and Banyu.
In this article, we clearly explain each surf spot, including its location and key features, in an easy-to-understand way.
Surf Spot Details
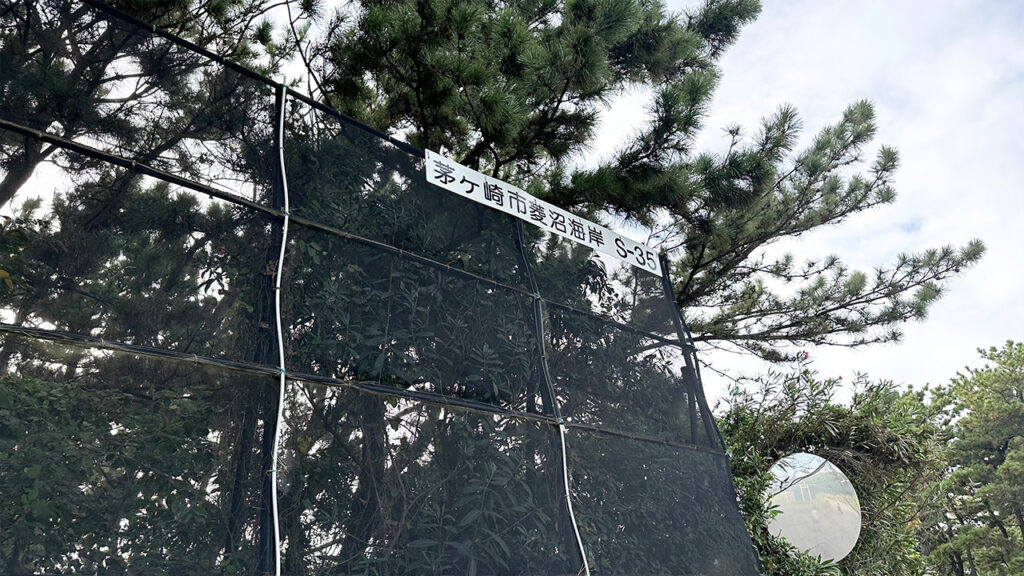
① Kusoshita
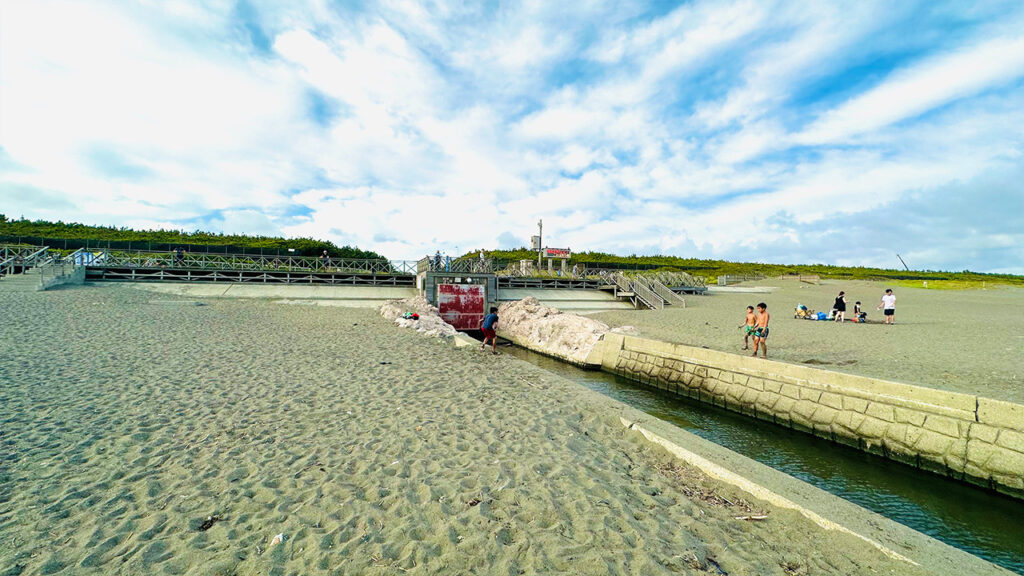
Location
Overview
- Spot Name: Kusoshita
- Seabed: Beach
- Level: Beginner
- Direction: South
- Swell Direction: Southwest to Southeast
- Best Swell: South swell
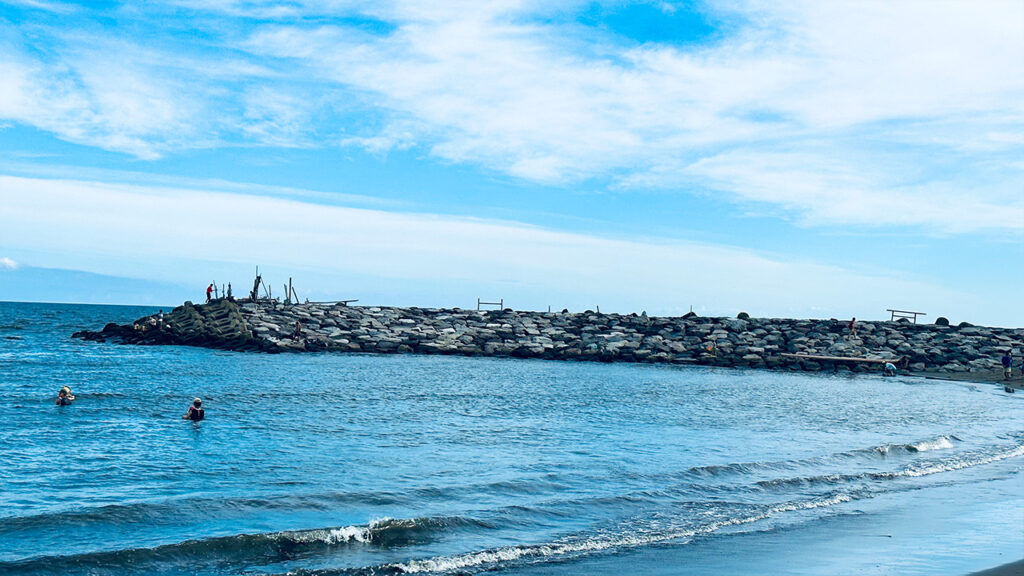
- Features: A consistent spot that works even in small conditions. The sandy seabed makes it safe for beginners. Waves are mellow and suitable for longboarders. Best conditions are waist- to chest-high, as larger waves tend to close out. Sand tends to build up near the river mouth by the wooden deck. Slightly more responsive to swell than Chisan.
② Chisan
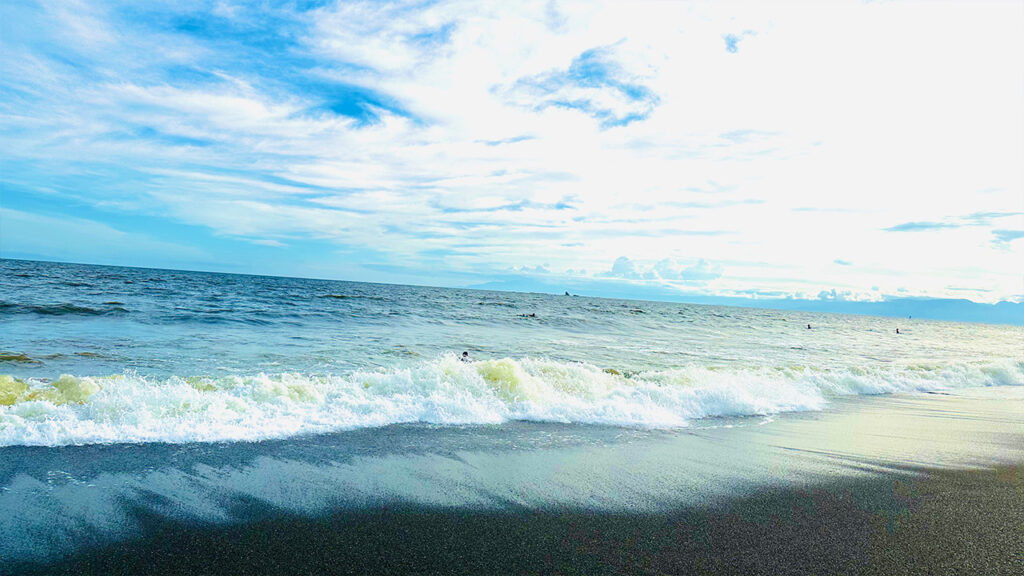
Location
Overview
- Spot Name: Chisan
- Seabed: Beach
- Level: Beginner
- Direction: South
- Swell Direction: Southwest to Southeast
- Best Swell: South swell
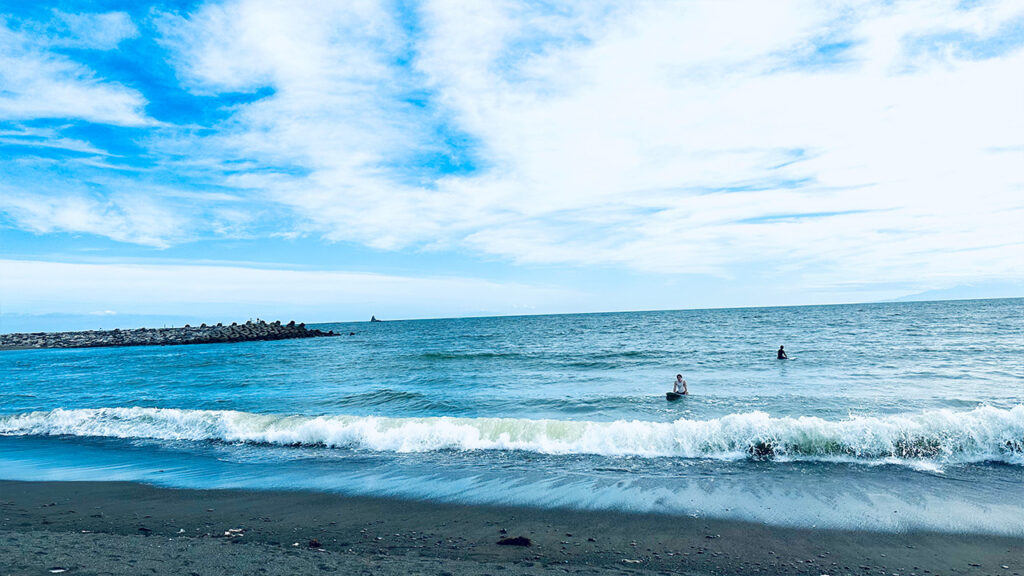
- Features: Consistent and beginner-friendly with a sandy seabed. Mellow waves suitable for longboarders. Best at waist- to chest-high; larger waves tend to close out.
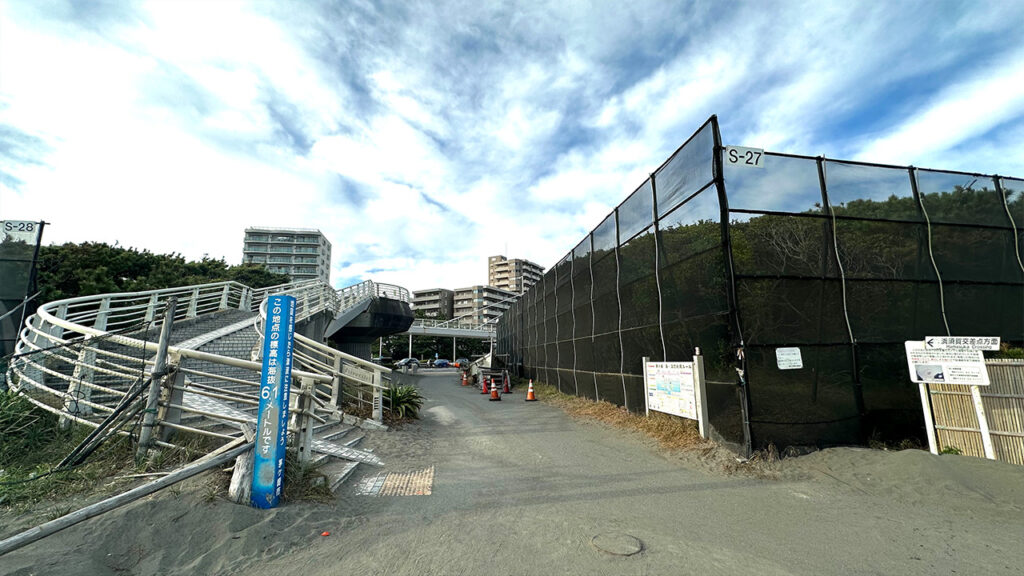
③ Chiper
Location
Overview
- Spot Name: Chiper
- Seabed: Beach
- Level: Beginner
- Direction: South-southeast
- Swell Direction: Southwest to Southeast
- Best Swell: South-southeast swell
- Features: A consistent, beginner-friendly spot located between Chisan and Park. Mellow waves ideal for longboarders. Less crowded than Park Front, so walking over is recommended.
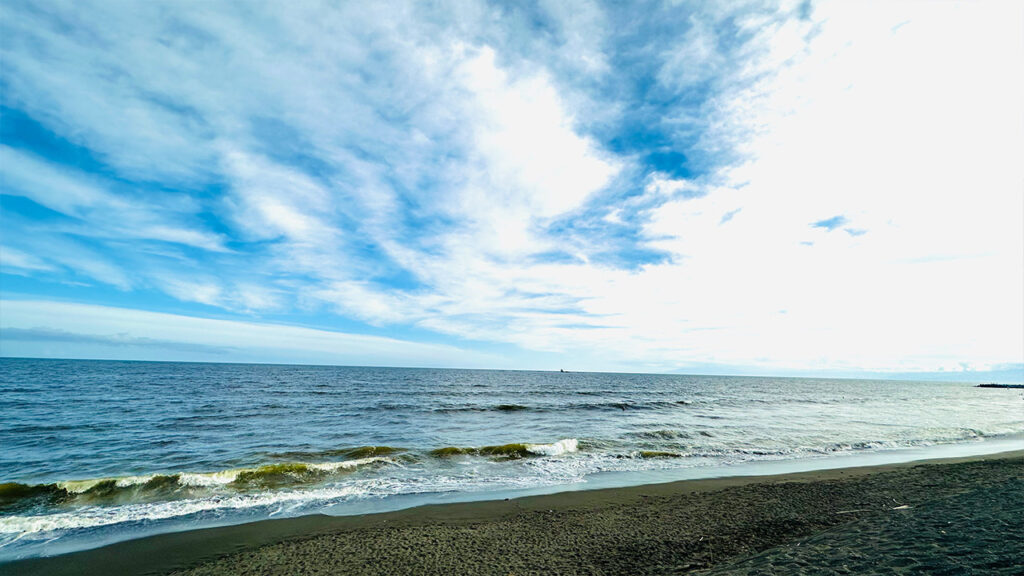
④ Park Front
Location
Overview
- Spot Name: Park Front
- Seabed: Beach
- Level: Beginner
- Direction: South-southeast
- Swell Direction: Southwest to Southeast
- Best Swell: South-southeast swell
- Features: Consistent waves with mellow conditions suitable for beginners and longboarders. Best at waist- to chest-high.
⑤ T-Bar
Location
Overview
- Spot Name: T-Bar
- Seabed: Beach
- Level: Beginner
- Direction: Southeast
- Swell Direction: South to Southeast
- おすすめ
- Features: Consistent and beginner-friendly. Often smaller than nearby spots, but produces clean waves when conditions align. Sand buildup creates good right-hand waves. Be cautious of rip currents during larger swells.
⑥ Ura Park
Location
Overview
- Spot Name: Ura Park
- Seabed: Beach
- Level: Beginner
- Direction: Southwest
- Swell Direction: Southwest to South
- Best Swell: Southwest swell
- Features: Consistent and slightly smaller than nearby spots. Mellow waves suitable for longboarders. Sandbars can create good left-hand waves. Watch for rip currents during larger conditions.
⑦ Shirakaba
Location
Overview
- Spot Name: Shirakaba
- Seabed: Beach
- Level: Beginner
- Direction: South
- Swell Direction: Southwest to Southeast
- Best Swell: South swell
- Features: Works even in small conditions but is often smaller than nearby spots. Mellow waves suitable for longboarders. A live camera is available to check conditions.
⑧ Shop-shita
Location
Overview
- Spot Name: Shop-shita
- Seabed: Beach
- Level: Beginner
- Direction: South-southeast
- Swell Direction: Southwest to Southeast
- Best Swell: South-southeast swell
- Features: Consistent and beginner-friendly with mellow waves suitable for longboarders.
⑨ Kabocha
Location
Overview
- Spot Name: Kabocha
- Seabed: Beach
- Level: Beginner
- Direction: Southeast
- Swell Direction: South to East-southeast
- Best Swell: Southeast swell
- Features: Usually inconsistent, but can offer clean waves when nearby spots are too rough. Beginner-friendly sandy bottom. Watch for rip currents during larger swells.
⑩ Nishihama
Location
Overview
- Spot Name: Nishihama
- Seabed: Beach
- Level: Beginner
- Direction: South-southwest
- Swell Direction: South-southwest to South
- Best Swell: South-southwest swell
- Features: Consistent waves with both left and right breaks. Beginner-friendly and suitable for longboarders. Watch for rip currents during larger conditions.
⑪ Yanagishima
Location
Overview
- Spot Name: Yanagishima
- Seabed: Beach
- Level: Beginner
- Direction: South
- Swell Direction: Southwest to Southeast
- Best Swell: South-southeast swell
- Features: Consistent waves and beginner-friendly sandy bottom. Mellow waves ideal for longboarders.
⑫ Banyu


Location
Overview
- Spot Name: Banyu
- Seabed: Beach
- Level: Beginner
- Direction: South
- Swell Direction: Southwest to Southeast
- Best Swell: South swell
- Features: Located at the Sagami River mouth, where sand accumulation creates good sandbars. Consistent and beginner-friendly with mellow waves. A live camera is available to check conditions.
Stay Tuned with “Shonan Chill Time” – Your Go-To Guide for Shonan Events!

How was it?
This article introduced recommended surf spots in Chigasaki, Shonan!
At Shonan Chill Time, we are committed to bringing you the best and latest news from the Shonan area! Make sure to bookmark our site and stay up to date with exciting local events, special offers, and hidden gems.
For real-time updates, follow us on Shonan Chill Time’s Official Twitter (X). We share exclusive photos and the latest news about Shonan’s vibrant lifestyle. Let’s explore the beauty of Shonan together!
End.
▼The Japanese version of this article is here!
>>【2026年最新版】湘南・茅ヶ崎市でおすすめのサーフポイント一覧【サーフィン】

I am deeply passionate about the Hanshin Tigers.
My dream is to own a house along Katase Beach.
Special skills: saving money, and making blunders at drinking parties.