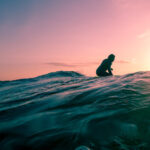
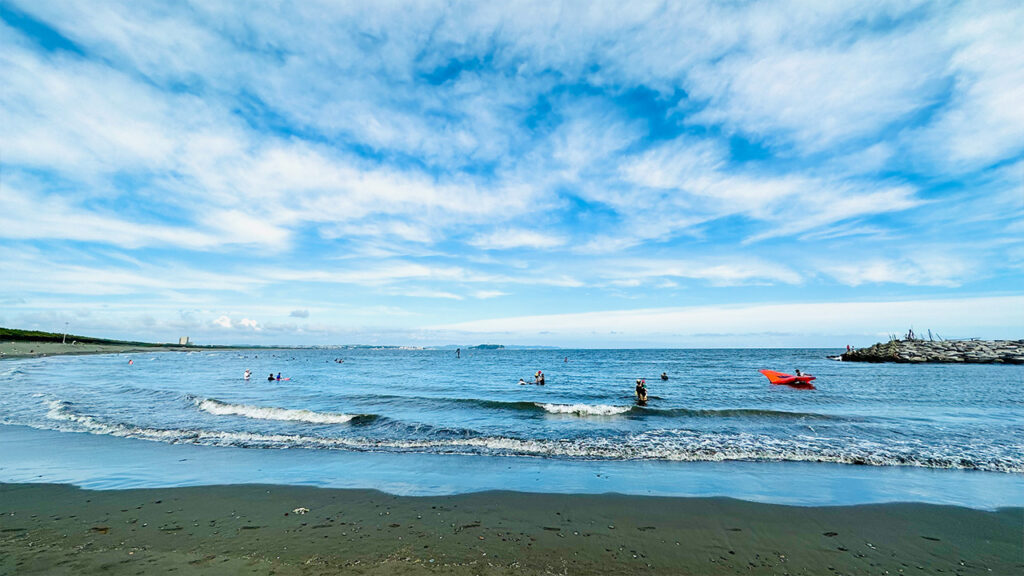
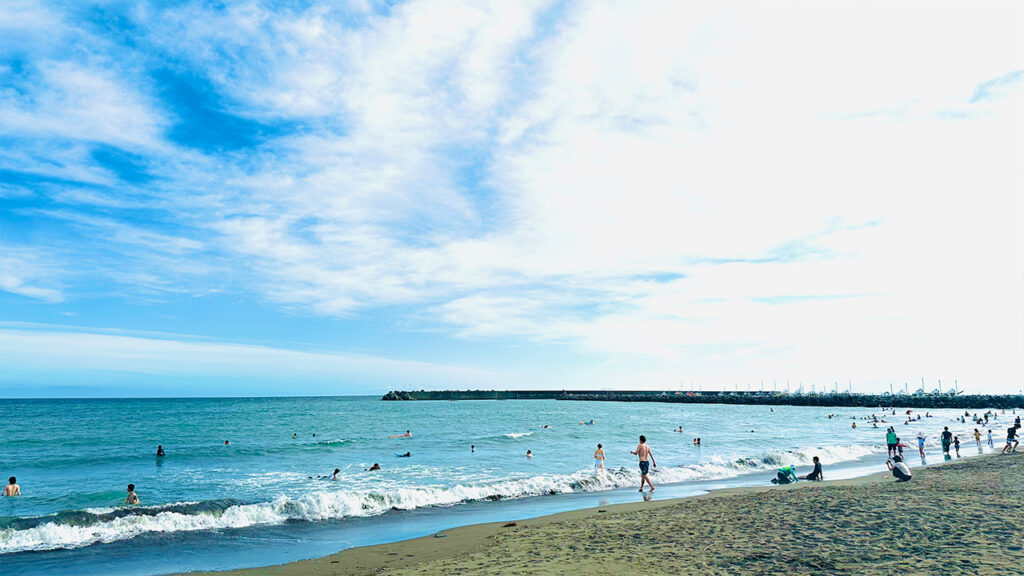
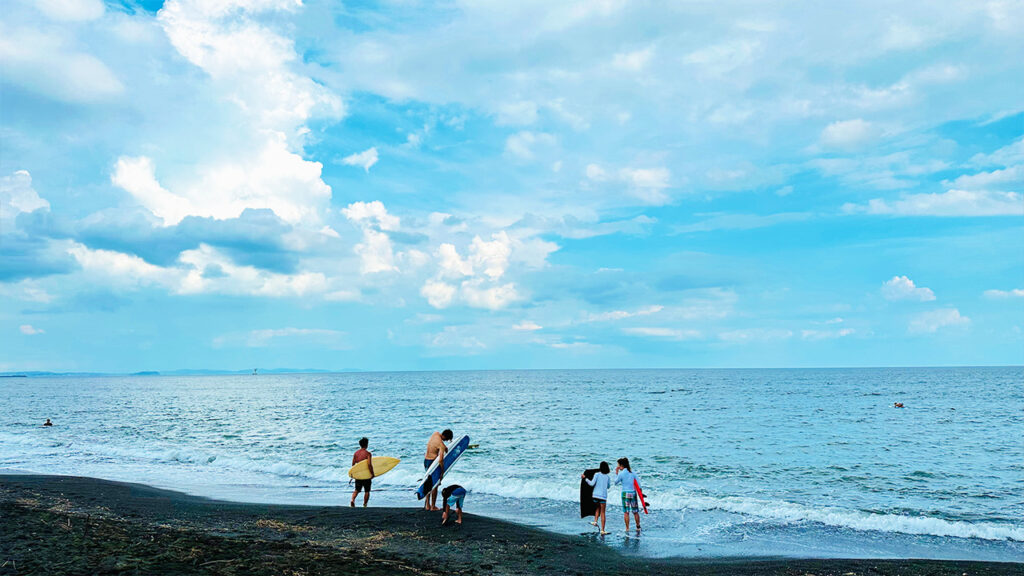
In this article, we introduce the best surf spots in Shonan by area.
From east to west: Hayama (2 spots), Zushi (4), Kamakura (11), Fujisawa (12), Chigasaki (12), Hiratsuka (5), and Oiso (3)—a total of 49 surf spots, with detailed explanations of each location and features.
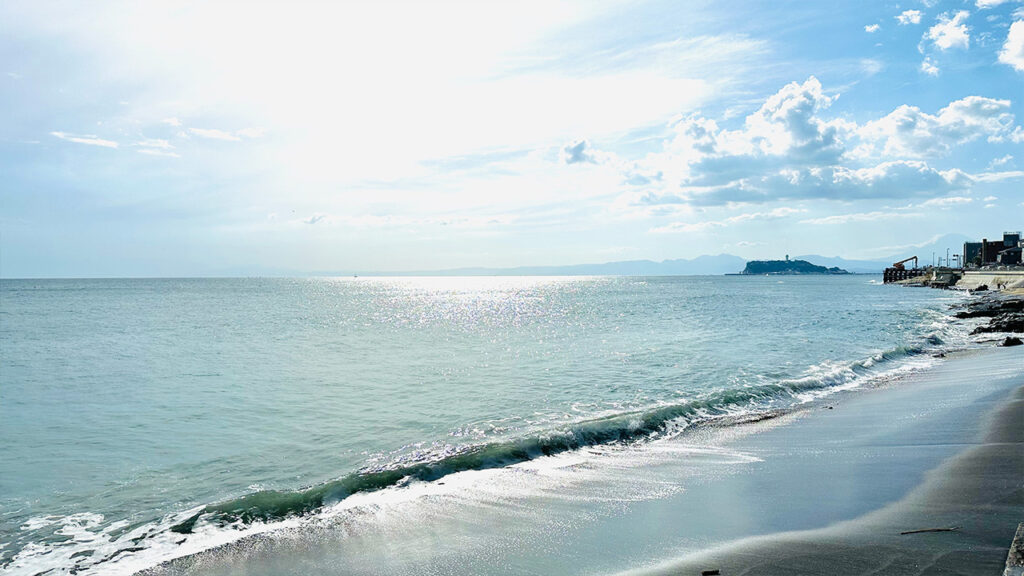
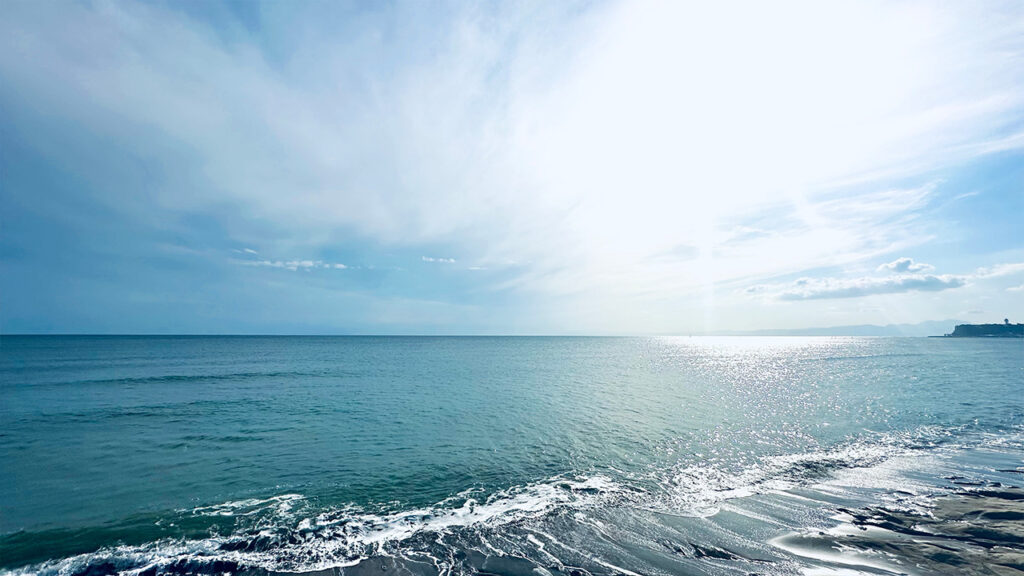
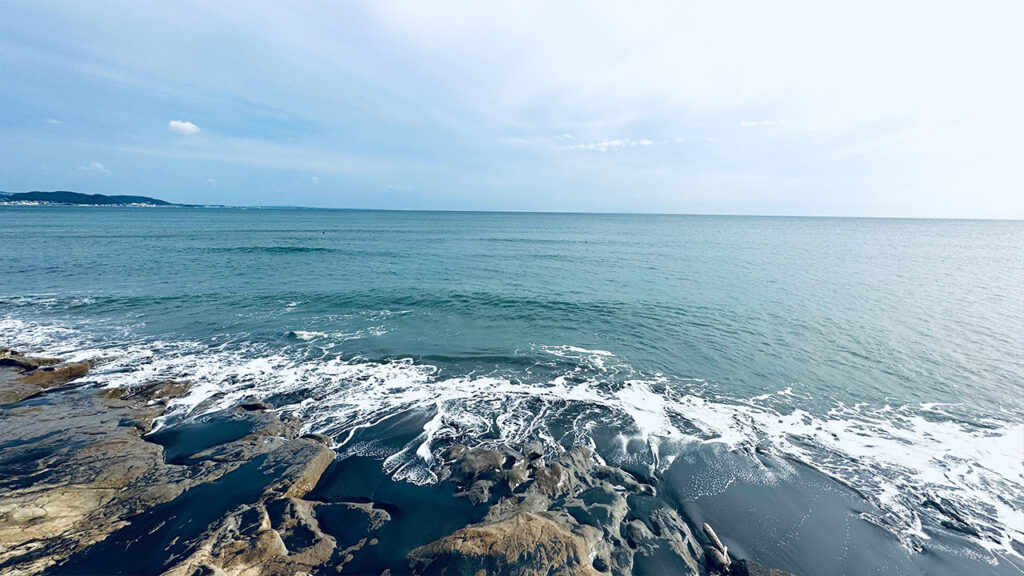
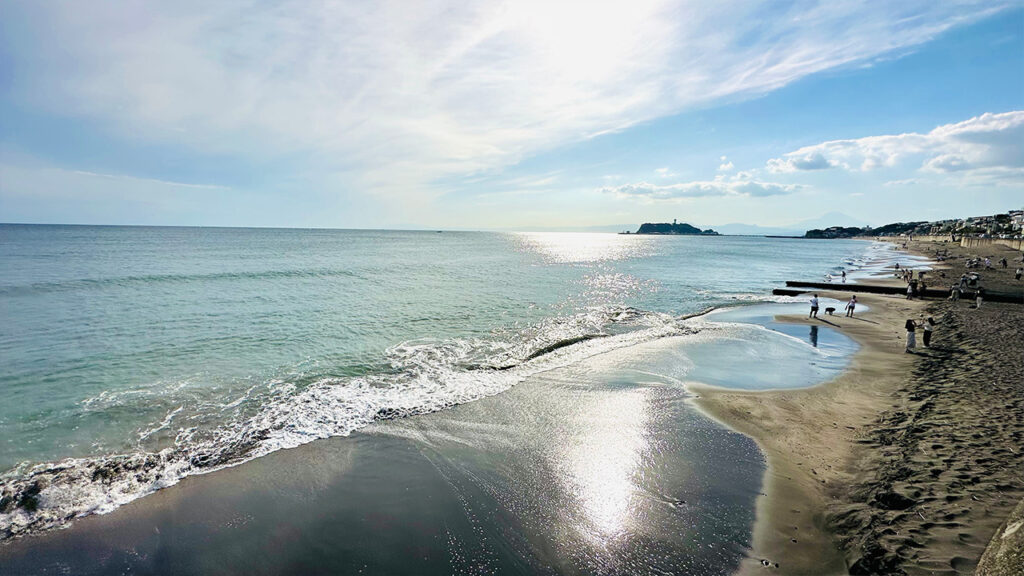
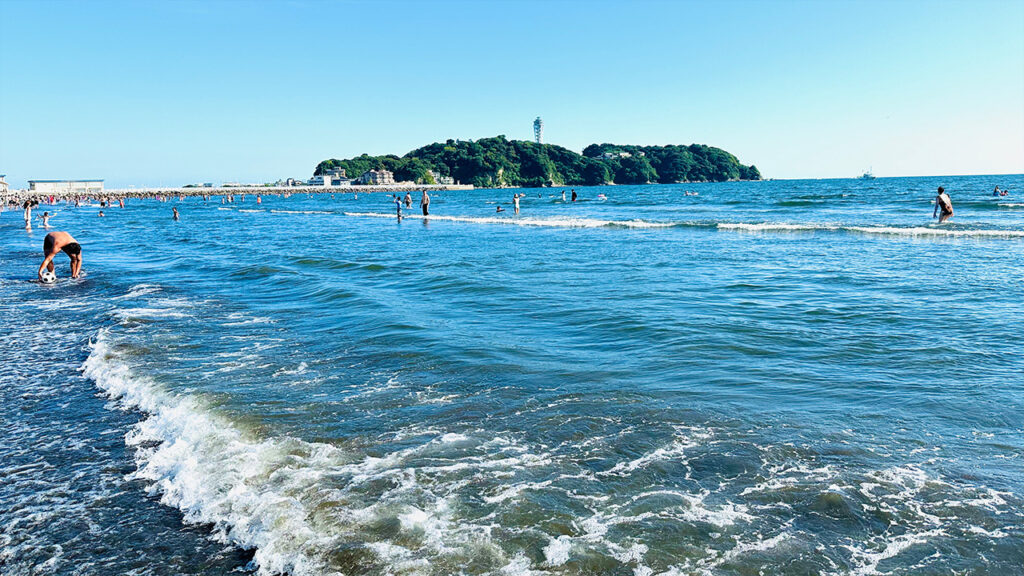
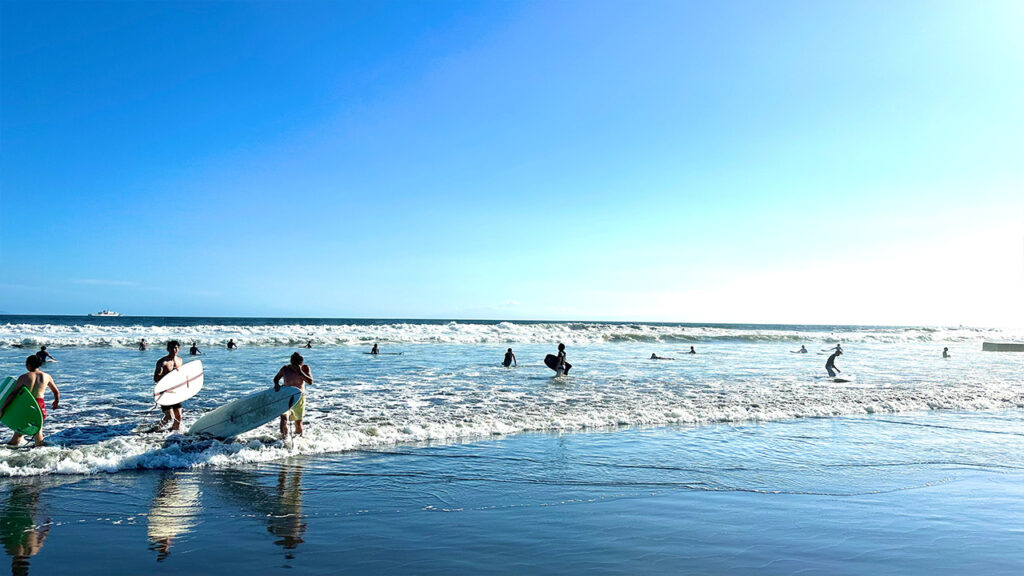
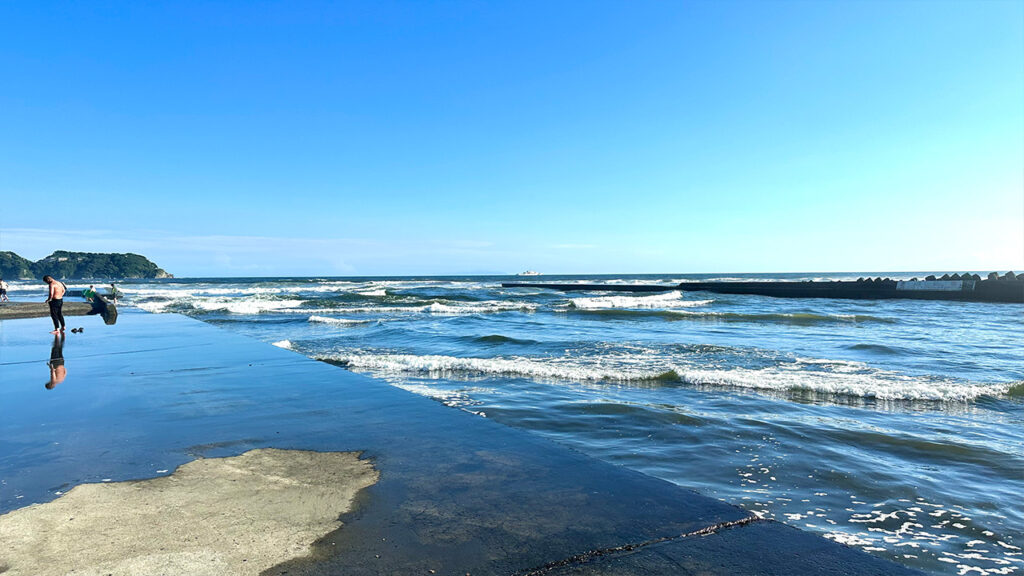
⚫︎All photos in this article: Taken by Shonan Chill Time
Contents
- 1 Hayama Town
- 2 Zushi City
- 3 Kamakura City
- 4 Fujisawa City
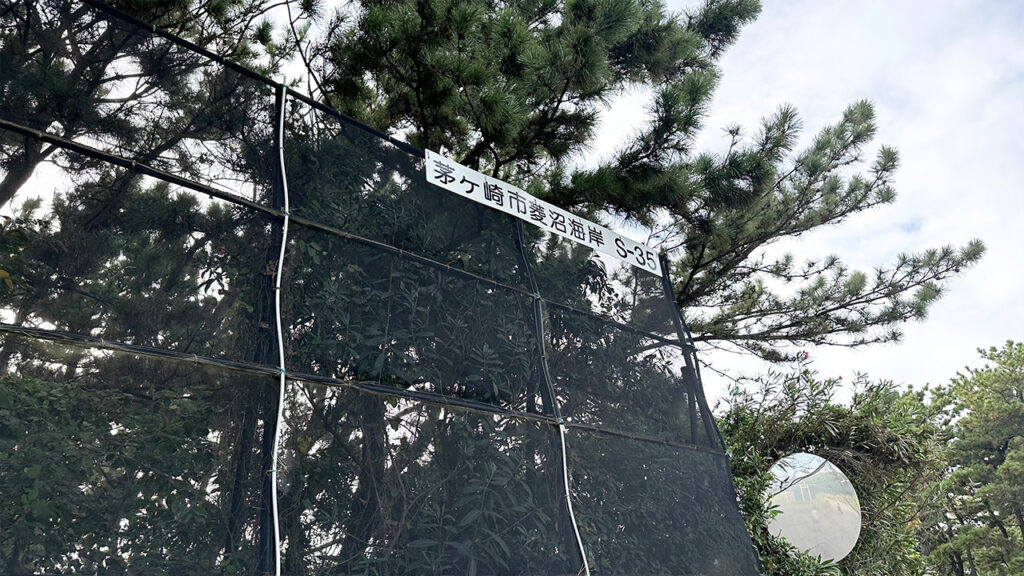
- 5 Chigasaki City
- 6 Hiratsuka City
- 7 Oiso Town
- 8 Stay Tuned with “Shonan Chill Time” – Your Go-To Guide for Shonan Events!
Hayama Town
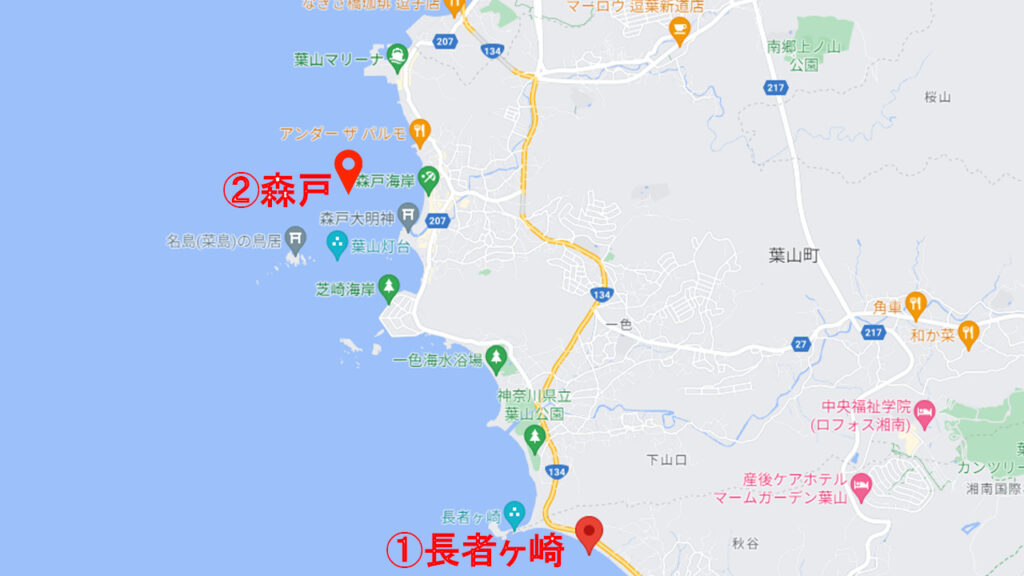
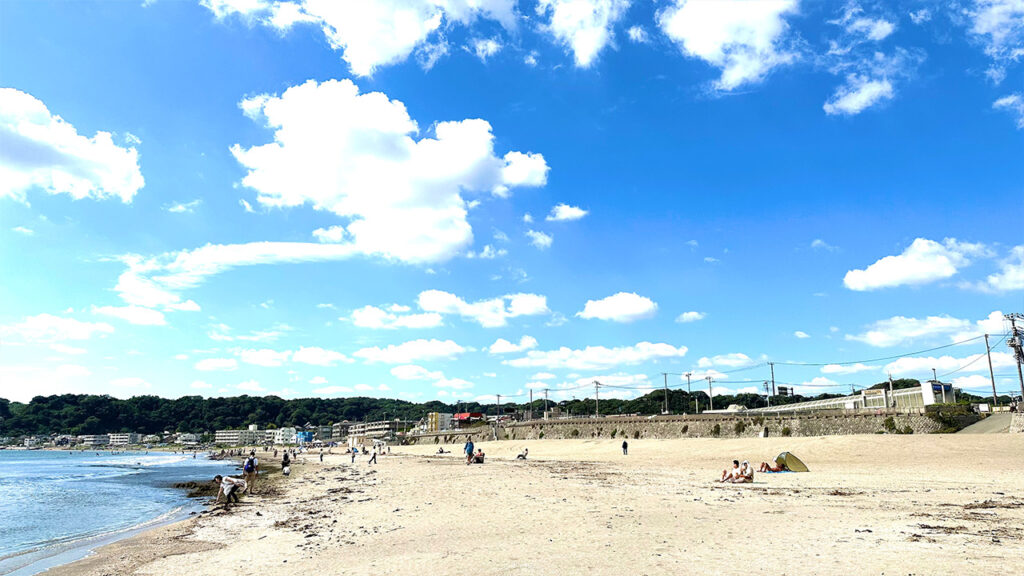
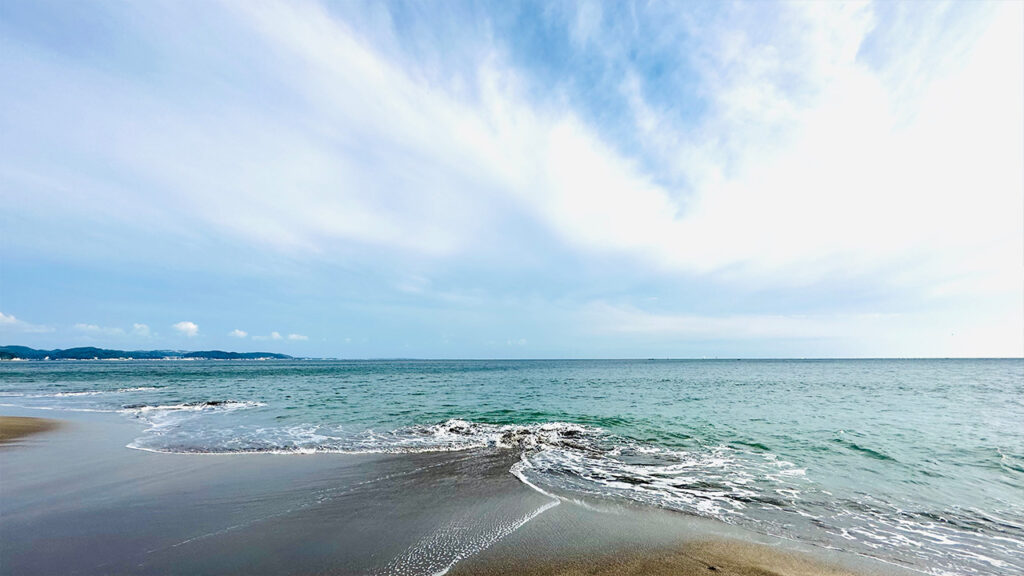
The main surf spots in Hayama, Shonan are “Chojagasaki” and “Morito,” located from east to west.
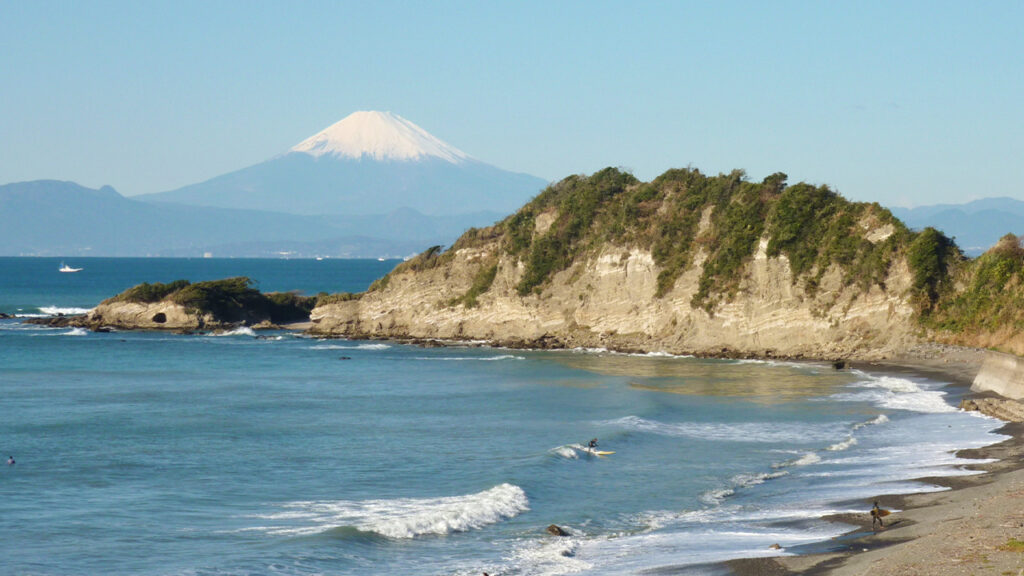
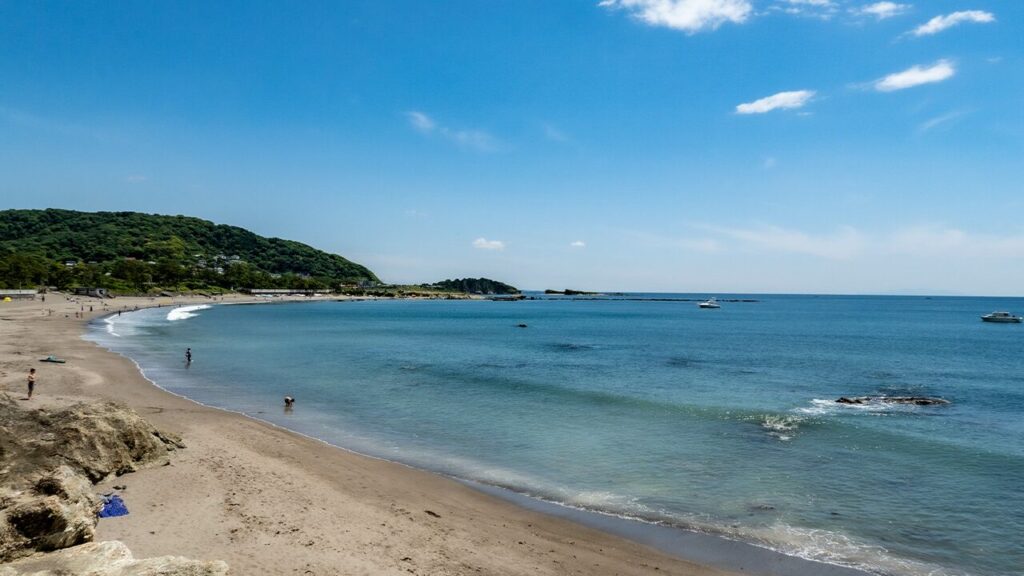
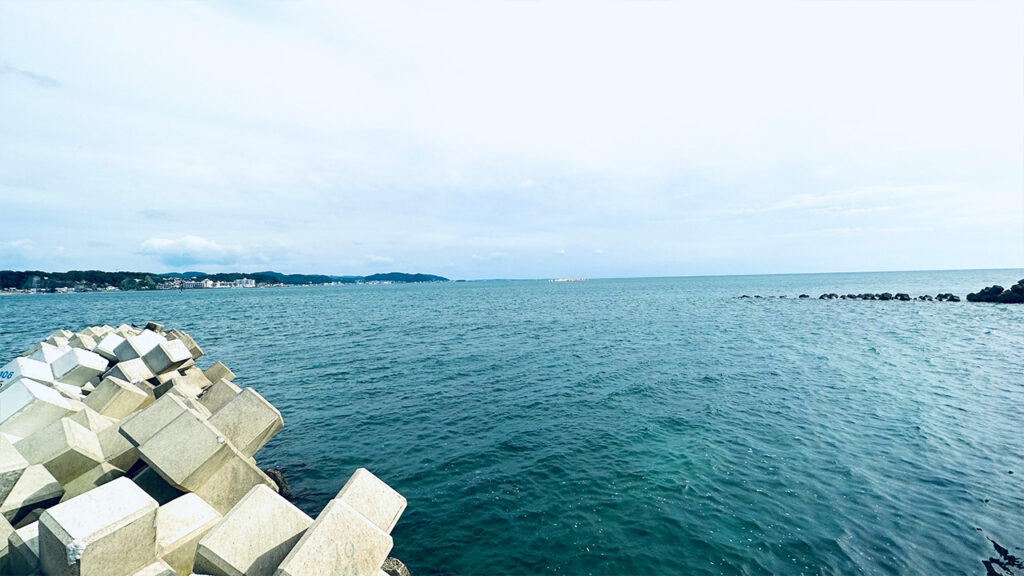
Chojagasaki
Location
Overview
- Spot Name: Chojagasaki
- Seabed: Reef (rocky)
- Level: Intermediate and above
- Direction: Southwest-facing
- Swell Direction: West to South-Southeast
- Best Swell: Southwest swell
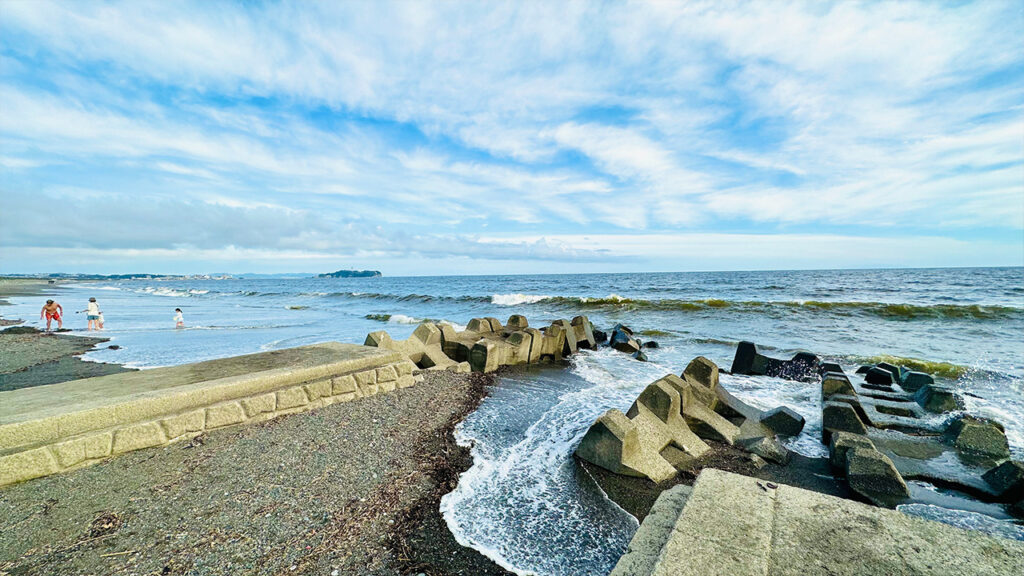
- Features: Since the seabed consists of a reef, rocks that are not visible at high tide can become exposed as the tide goes out. This makes the spot dangerous for beginners. Even intermediate surfers should carefully check the conditions and seabed before entering the water.
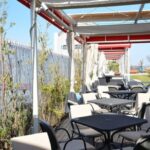
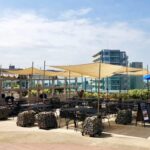
Morito (Morito Beach)
Location
Overview
- Spot Name: Morito / Morito Beach
- Seabed: Beach (sand)
- Level: Beginner and above
- Direction: West-facing
- Swell Direction: West to South-Southwest
- Best Swell: Southwest swell
- Features: The sandy seabed makes this spot relatively safe for beginners. However, when the waves are large, strong currents (rip currents) can occur, making conditions dangerous. Beginners are advised to avoid surfing during such times. Be sure to check live cameras and wave conditions before heading out.
Zushi City

The main surf spots in Zushi, Shonan are Zushi Beach, Osaki, Kabune, and Tamaishe, listed from east to west.
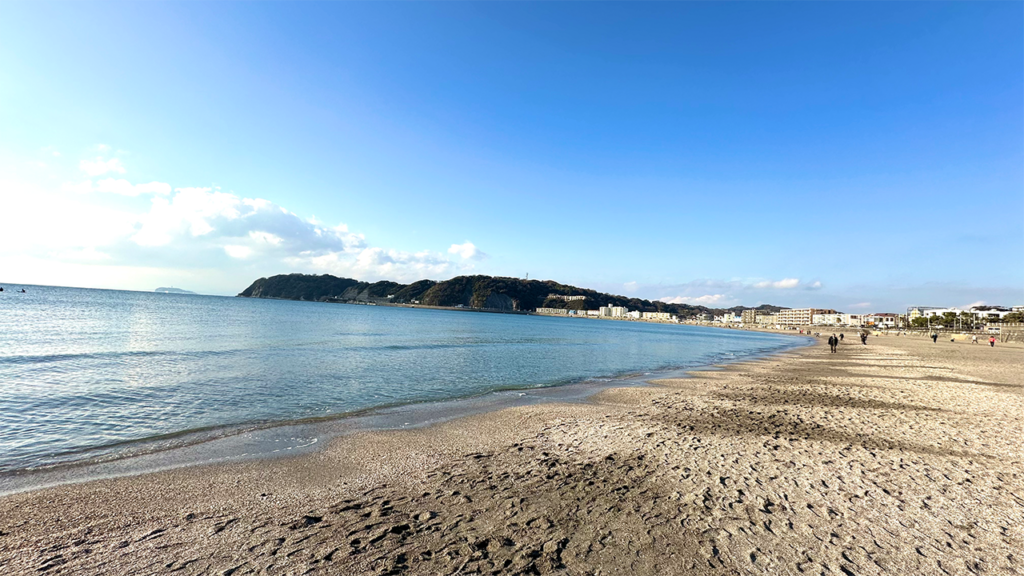
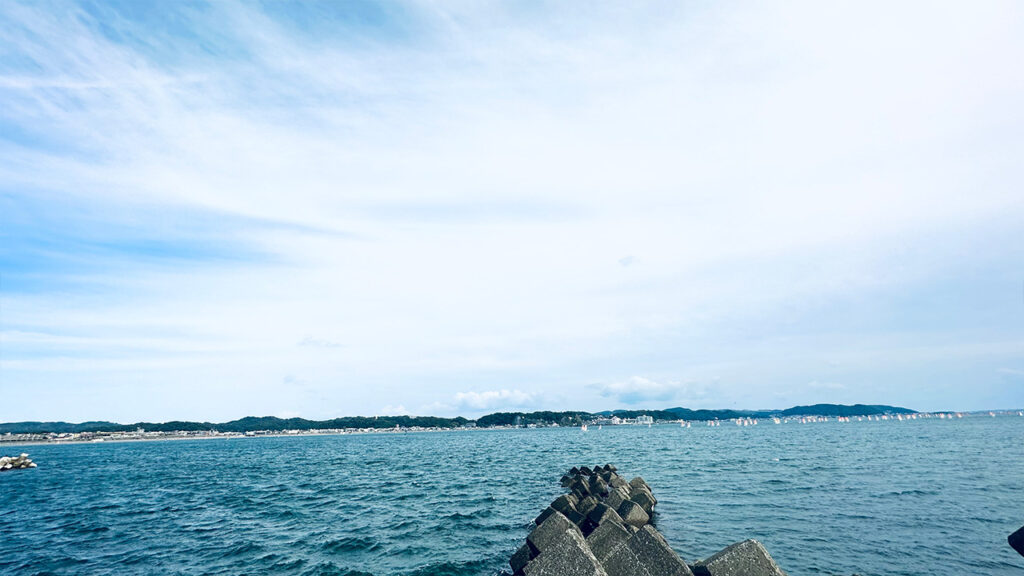
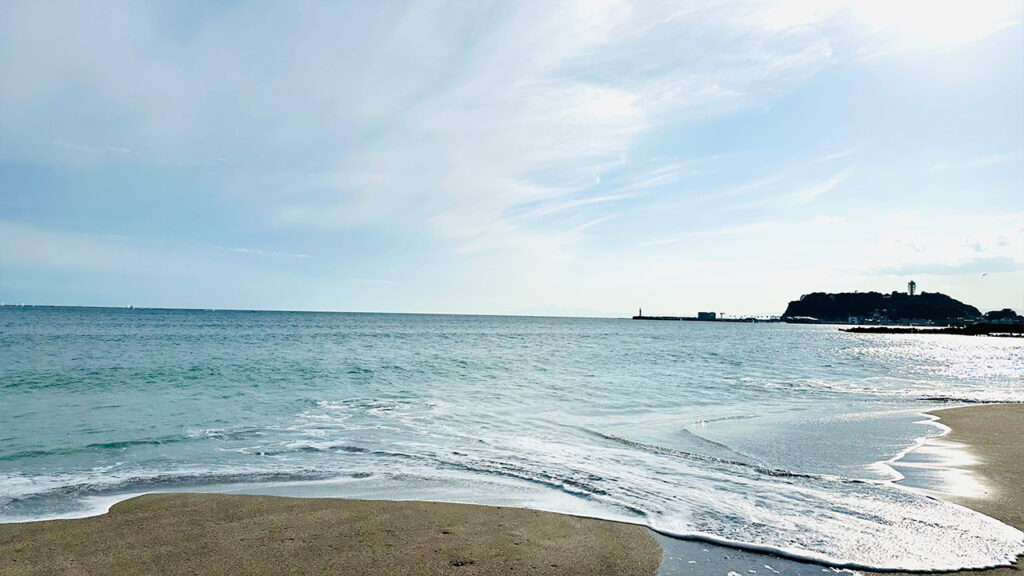
Zushi Beach
Location
Overview
- Spot Name: Zushi Beach
- Seabed: Beach (sand)
- Level: Beginner and above
- Direction: West-southwest
- Swell Direction: West to Southwest
- Best Swell: West-southwest swell
- Features: Waves are not very consistent, but the sandy seabed makes it an ideal spot for beginners. The waves are generally soft and mellow. Since many people enjoy SUP and windsurfing here, there are fewer surfers compared to other spots, making it less crowded.
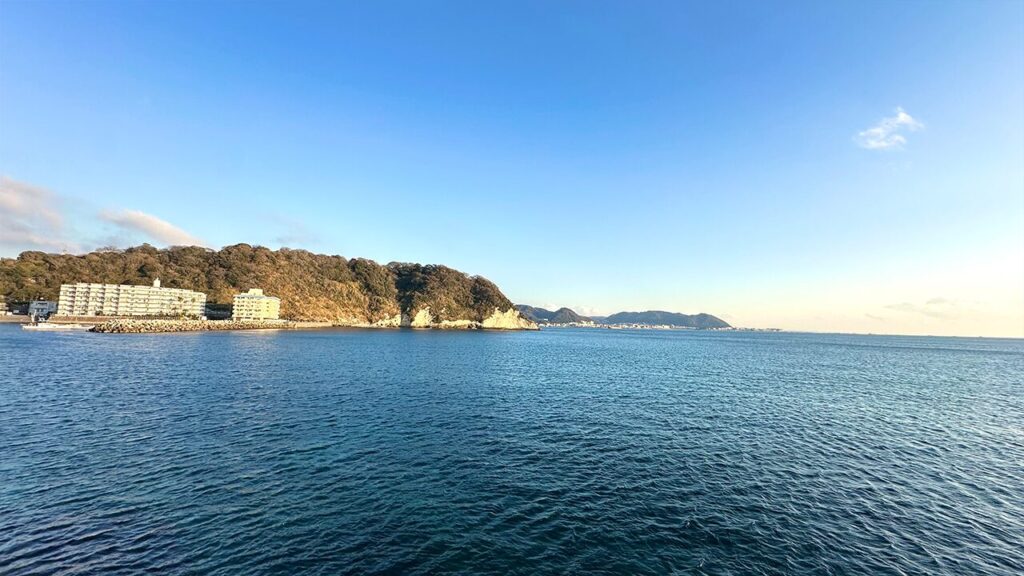
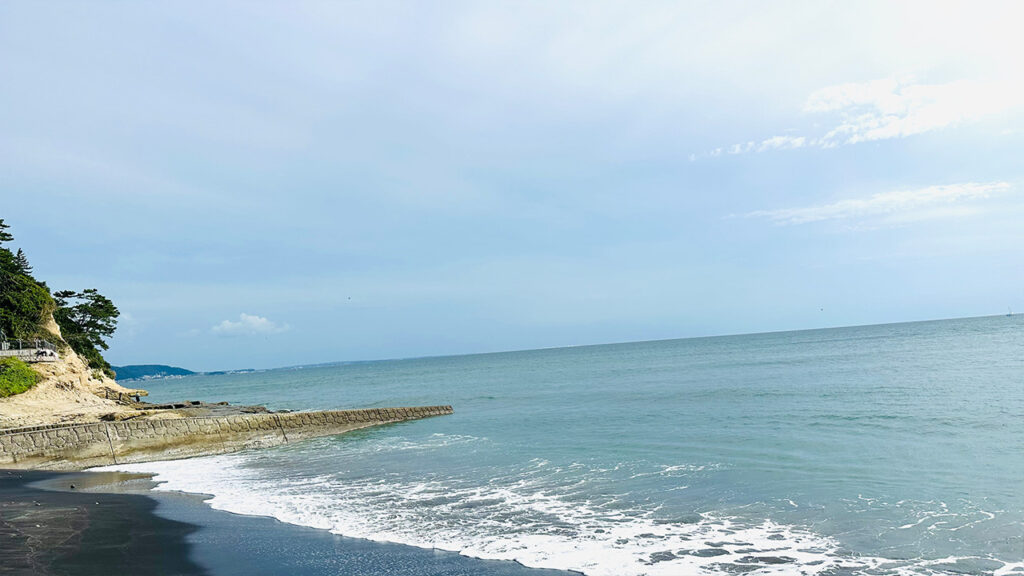
Osaki
Location
Overview
- Spot Name: Osaki
- Seabed: Reef (rocky)
- Level: Advanced surfers only
- Direction: South-southwest
- Swell Direction: West-southwest to South-southeast
- Best Swell: South-southwest swell
- Features: Waves are usually inconsistent, but the spot becomes surfable when strong swells arrive from typhoons or low-pressure systems. The rocky reef bottom makes it dangerous for beginners and intermediate surfers. The paddle-out is long and demanding. Depending on conditions, the waves can be powerful and thick, sometimes forming hollow sections and barrels. With well-defined shoulders, long rides are possible. This is a spot highly anticipated by local surfers.
Kabune
Location
Overview
- Spot Name: Kabune
- Seabed: Reef (rocky)
- Level: Advanced surfers only
- Direction: South
- Swell Direction: West-southwest to South-southeast
- Best Swell: South-southwest swell
- Features: Like Osaki, waves are not frequent, but the spot becomes surfable with strong swells from typhoons or low-pressure systems. The reef bottom makes it dangerous for beginners and intermediate surfers, and the paddle-out is long. The waves are powerful but generally softer than Osaki, making takeoffs slightly easier. Longboarders can also enjoy this spot. It is another location eagerly awaited by local surfers.
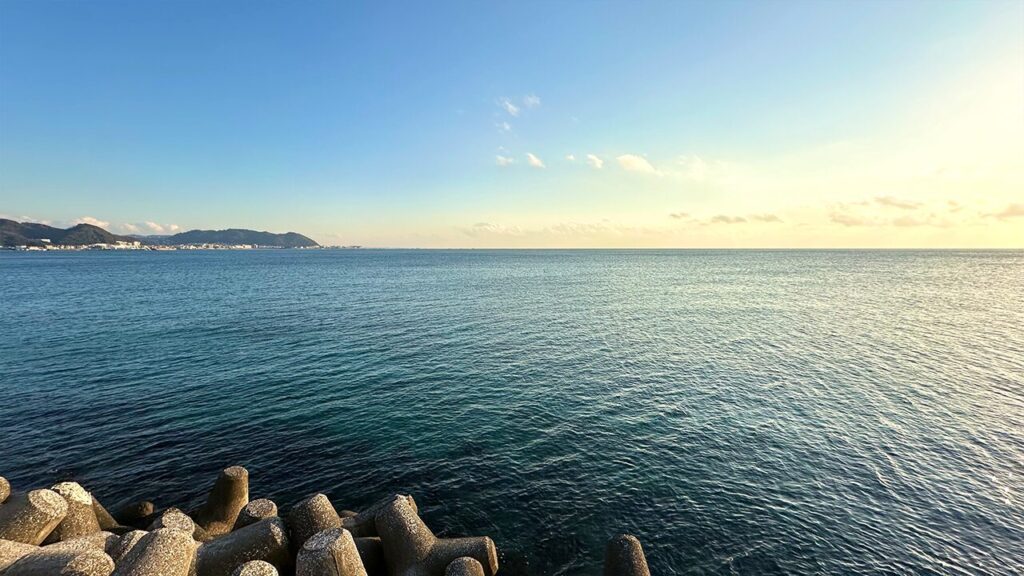
Tamaishe

Location
Overview
- Spot Name: Tamaishe
- Seabed: Cobblestone with partial reef
- Level: Advanced surfers only
- Direction: Southwest
- Swell Direction: West-southwest to South
- Best Swell: Southwest swell
- Features: Waves are usually inconsistent, but strong swells from typhoons or low-pressure systems make it surfable. The cobblestone and reef bottom can be dangerous for beginners and intermediate surfers. The inside section is shallow, requiring early pull-outs. Waves are fast, hollow, and powerful, making this spot best suited for shortboarders.
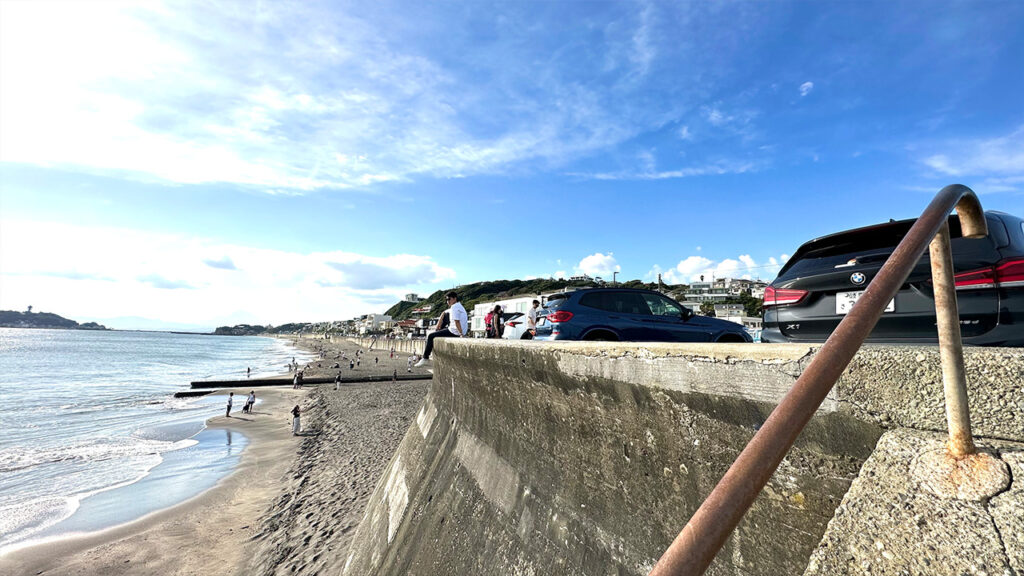
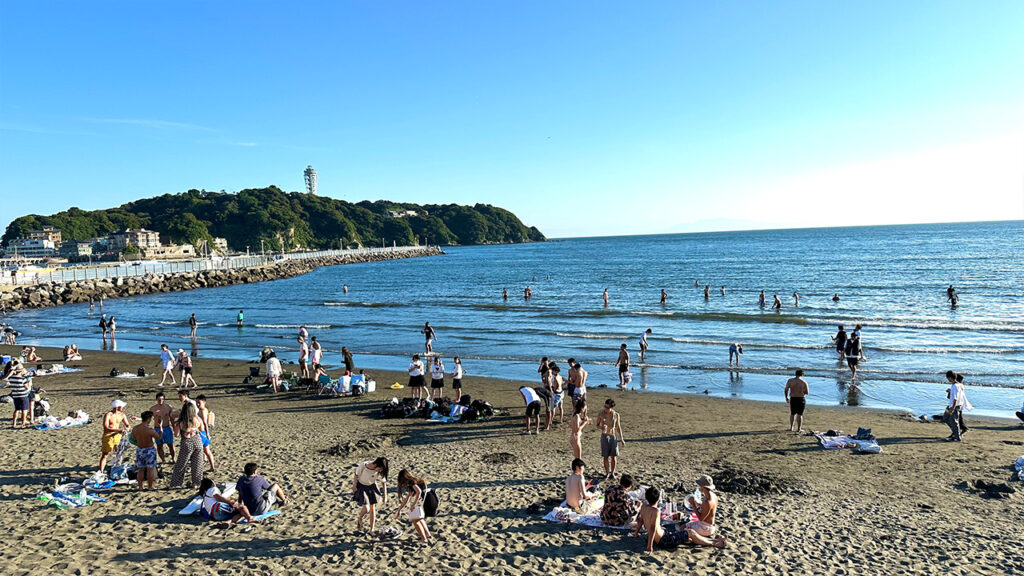
Kamakura City
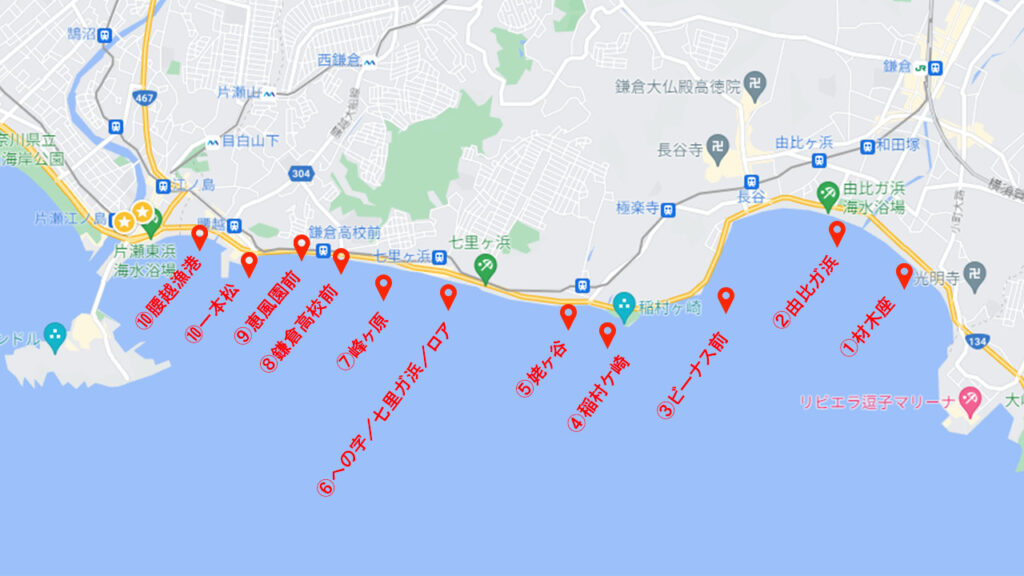
The main surf spots in Kamakura, Shonan are, from east to west:
Zaimokuza, Yuigahama, Venus-mae, Inamuragasaki, Ubagaya, Hennoji / Shichirigahama / Roa, Minegahara, Kamakura Koko-mae, Keifuen-mae, Ipponmatsu, and Koshigoe Fishing Port.
Zaimokuza
Location
Overview
- Spot Name: Zaimokuza
- Seabed: Sand
- Level: Beginner
- Direction: Southwest
- Swell Direction: West-southwest to South-southeast
- Best Swell: Southwest swell
- Features: The sandy seabed makes this spot ideal for beginners. Waves are generally calm, making it suitable for entry-level surfers. Live cameras allow you to check wave and crowd conditions, making it perfect for practice.
Yuigahama
Location
Overview
- Spot Name: Yuigahama
- Seabed: Sand
- Level: Beginner
- Direction: Southwest
- Swell Direction: Southwest to Southeast
- Best Swell: Southwest swell
- Features: A beginner-friendly spot with a sandy seabed. Waves are typically small and gentle. Live cameras are available to check conditions, making it ideal for practice.
Venus-mae
Location
Overview
- Spot Name: Venus-mae
- Seabed: Reef
- Level: Advanced surfers only
- Direction: South-southeast
- Swell Direction: Southwest to Southeast
- Best Swell: South-southeast swell
- Features: Waves are usually inconsistent, but the spot becomes surfable with strong swells from typhoons or low-pressure systems. The reef bottom is dangerous for beginners and intermediates. At low tide, the water becomes very shallow, and fins may hit the reef. Paddling out from Yuigahama requires a long distance, so those not confident in paddling should avoid it. Jumping from tetrapods is dangerous and not recommended. Waves can be powerful and clean, with long rideable shoulders.
Inamuragasaki
Location
Overview
- Spot Name: Inamuragasaki
- Seabed: Reef (rocky)
- Level: Advanced surfers
- Direction: Southwest
- Swell Direction: Southwest to Southeast
- Best Swell: Southwest swell
- Features: Due to the reef bottom, this spot is dangerous for non-advanced surfers. Parking is available, and access to the point is convenient.
Ubagaya
Location
Overview
- Spot Name: Ubagaya
- Seabed: Sand (with reef offshore)
- Level: Intermediate
- Direction: Southwest
- Swell Direction: West-southwest to South-southeast
- Best Swell: Southwest swell
- Features: A consistent spot that works even with small waves. Although the seabed offshore is reef, the waves break like a beach break and are relatively safe. However, beginners should avoid it due to reef hazards. Waves are mellow and suitable for longboarders. Best conditions are waist- to chest-high; larger waves tend to close out. Slightly smaller than Chigasaki/Fujisawa, so check those areas if waves are too small. Parking and nearby convenience stores make it very accessible.
Hennoji / Shichirigahama / Roa
Location
Overview
- Spot Name: Hennoji / Shichirigahama / Roa
- Seabed: Sand (with reef offshore)
- Level: Beginner (with caution)
- Direction: Southwest
- Swell Direction: West-southwest to South-southeast
- Best Swell: Southwest swell
- Features: These spots offer consistent waves even in small conditions. Although the seabed includes reef, waves resemble beach breaks and are relatively safe. Beginners should still be cautious due to offshore reef. Waves are mellow and suitable for longboards. Two live cameras allow easy condition checks. Parking, showers, toilets, and nearby convenience stores make this a very convenient surf area.
Minegahara
Location
Overview
- Spot Name: Minegahara
- Seabed: Sand (with reef offshore)
- Level: Intermediate
- Direction: Southwest
- Swell Direction: West-southwest to South-southeast
- Best Swell: Southwest swell
- Features: Consistent waves even in small conditions. Similar characteristics to nearby spots, with mellow waves suitable for longboarders. Better facilities are available at Shichirigahama parking.
Kamakura Koko-mae
Location
Overview
- Spot Name: Kamakura Koko-mae
- Seabed: Beach + Reef (rocky)
- Level: Intermediate to Advanced
- Direction: South
- Swell Direction: Southwest to Southeast
- Best Swell: South swell
- Features: A mixed beach and reef break suitable for intermediate to advanced surfers. Known for its beautiful scenery and as a famous location featured in Slam Dunk.
Keifuen-mae
Location
Overview
- Spot Name: Keifuen-mae
- Seabed: Sand (with reef offshore)
- Level: Intermediate
- Direction: Southwest
- Swell Direction: West-southwest to South-southeast
- Best Swell: Southwest swell
- Features: Consistent waves and mellow conditions suitable for longboarders. Beginners should be cautious due to reef offshore. No parking, toilets, or showers available.
Ipponmatsu
Location
Overview
- Spot Name: Ipponmatsu
- Seabed: Reef
- Level: Advanced surfers only
- Direction: Southwest
- Swell Direction: West-southwest to South-southeast
- Best Swell: Southwest swell
- Features: Surfable only during strong swells such as typhoons. Reef bottom makes it dangerous for beginners and intermediates. High-quality waves with potential barrels at low tide.
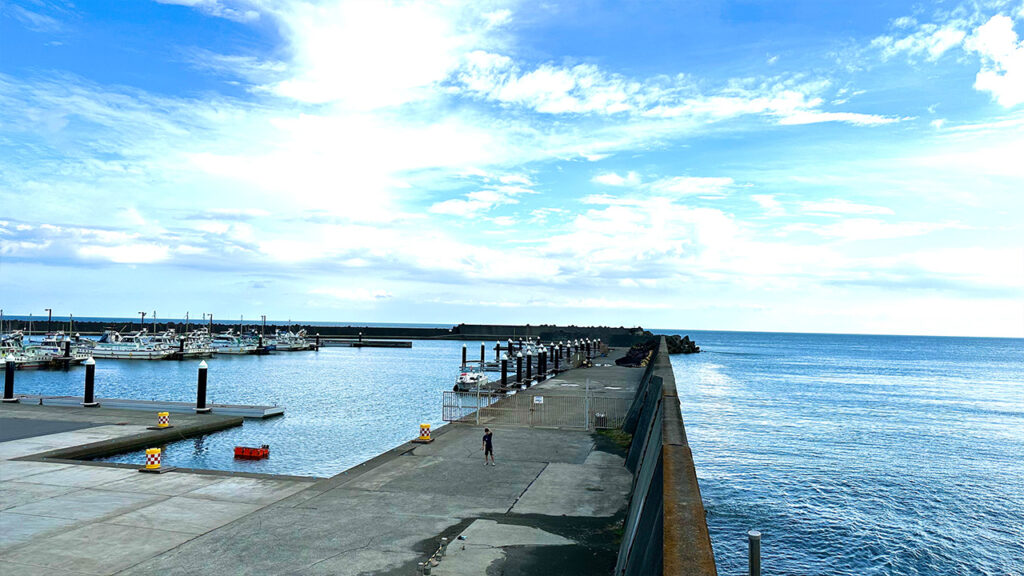
Koshigoe Fishing Port
Location
Overview
- Spot Name: Koshigoe Fishing Port
- Seabed: Sand
- Level: Beginner
- Direction: Southwest
- Swell Direction: West-southwest to South-southeast
- Best Swell: Southwest swell
- Features: A beginner-friendly beach break with calm waves. Live cameras allow you to check conditions, making it ideal for practice.
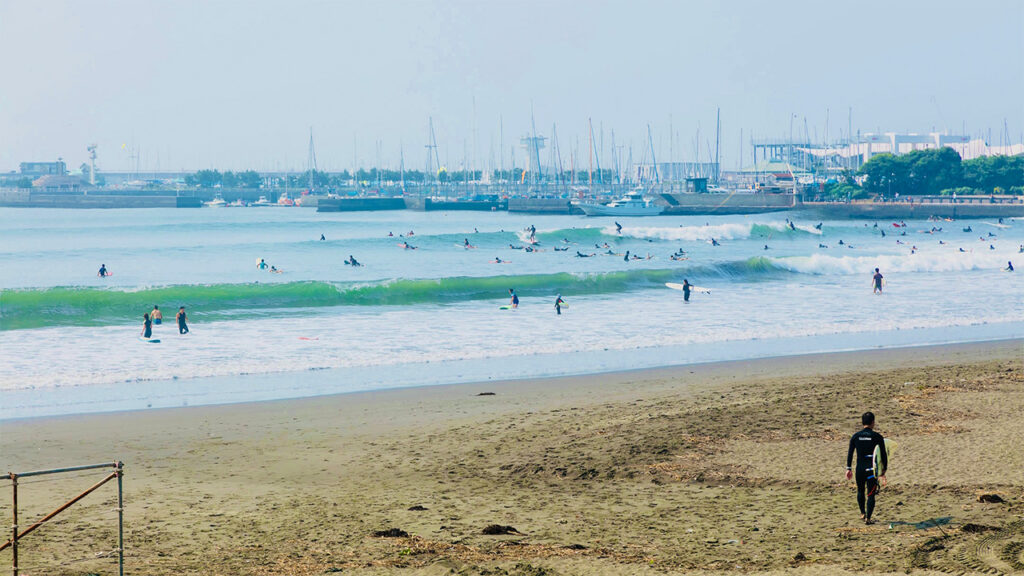
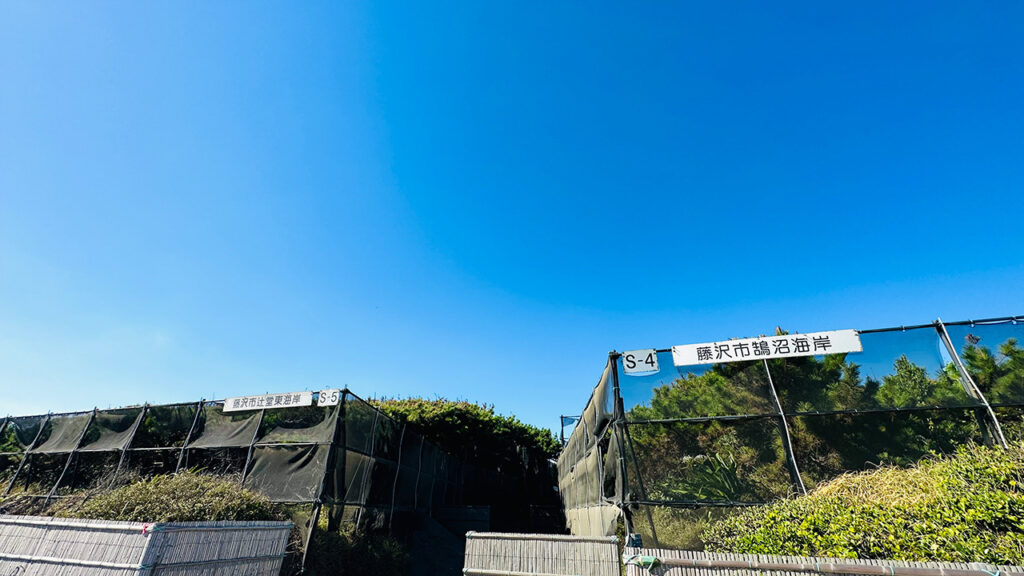
Fujisawa City
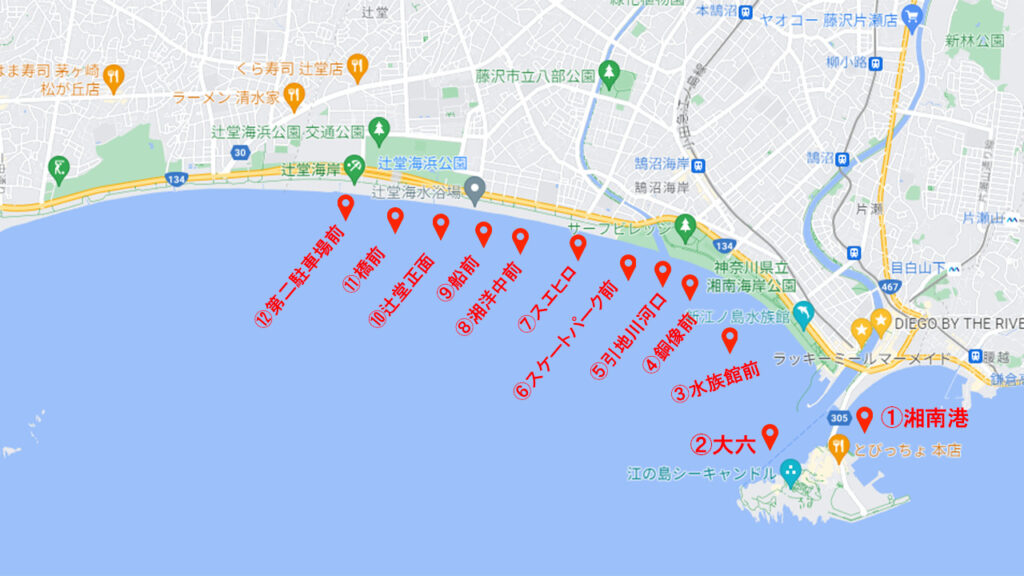
The main surf spots in Fujisawa, Shonan are, from east to west:
Shonan Port (Bridge Side), Dairoku, Aquarium Front, Kugenuma (Statue Front), Kugenuma (Hikichi River Mouth), Kugenuma (Skate Park Front), Kugenuma (Suehiro), Shoyo Junior High Front, Funamae, Tsujido Front, Hashimae, and Second Parking Area
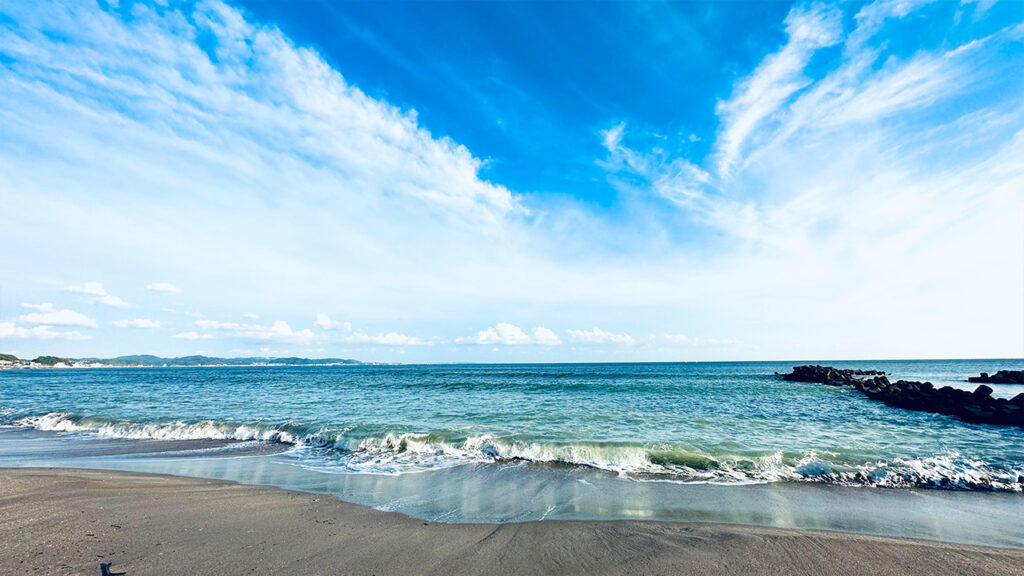
Shonan Port (Bridge Side)
Location
Overview
- Spot Name: Shonan Port
- Seabed: Beach (sand)
- Level: Beginner and above
- Direction: East-southeast
- Swell Direction: Southeast
- Best Swell: Southeast swell
- Features: Waves are not very consistent, but the sandy seabed makes it ideal for beginners. Waves are generally mellow. This spot can sometimes be surfable even when conditions are too rough in Chigasaki, Fujisawa, and Kamakura.
Dairoku
Location
Overview
- Spot Name: Dairoku
- Seabed: Beach (sand)
- Level: Advanced surfers and above
- Direction: West-southwest
- Swell Direction: West to Southwest
- Best Swell: Southwest swell
- Features: Waves are usually inconsistent, but the spot becomes surfable with strong swells from typhoons or low-pressure systems. Although the seabed is sandy, the paddle out is long and requires stamina. Waves are mellow and suitable for long rides, especially for longboarders.
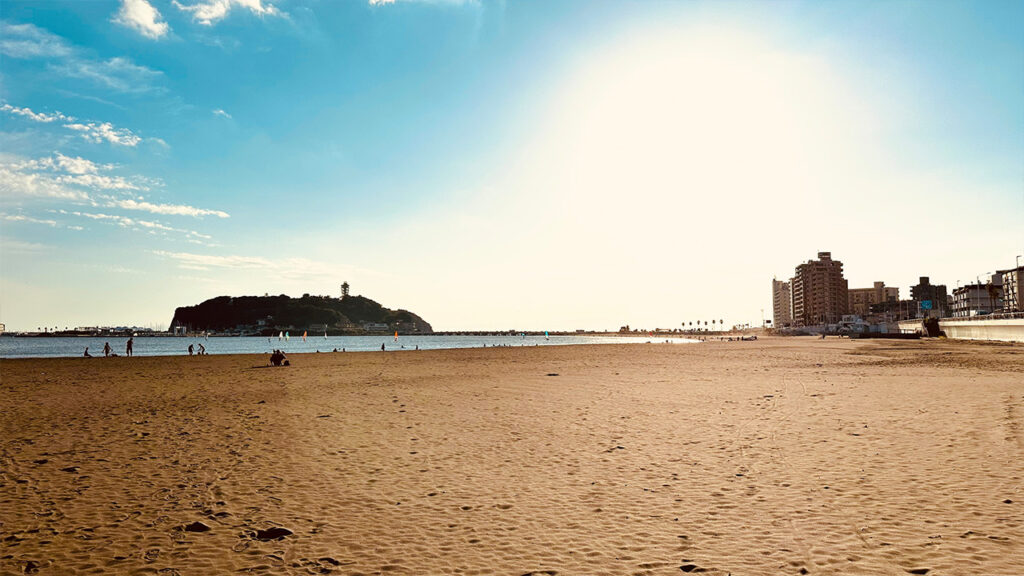
Aquarium Front
Location
Overview
- Spot Name: Aquarium Front
- Seabed: Beach (sand)
- Level: Beginner and above
- Direction: Southwest
- Swell Direction: West to South
- Best Swell: Southwest swell
- Features: Not always consistent, but surfable with strong swells. The sandy bottom makes it beginner-friendly. Waves are mellow and suitable for longboarders. This is one of the most famous and consistently crowded surf areas in Japan.
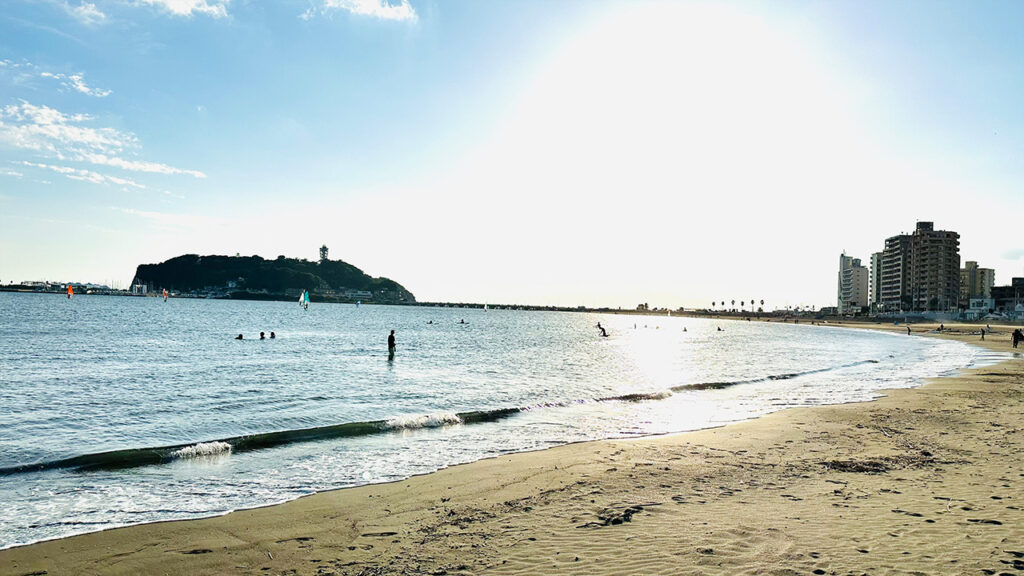
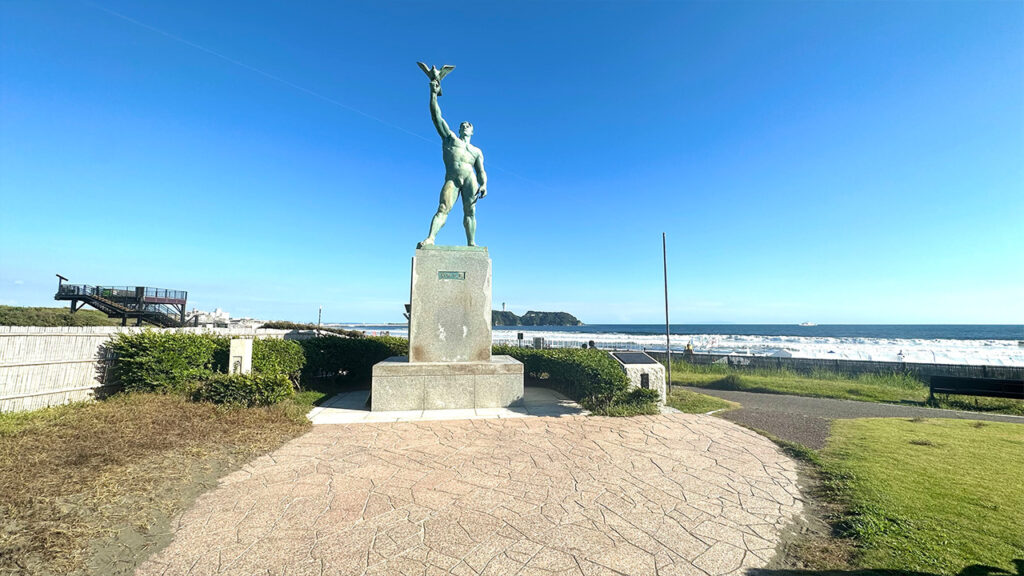
Kugenuma (Statue Front)
Location
Overview
- Spot Name: Kugenuma (Statue Front)
- Seabed: Beach (sand)
- Level: Beginner and above
- Direction: South-southwest
- Swell Direction: West to Southeast
- Best Swell: South-southwest swell
- Features: Consistent waves even in small conditions. A beginner-friendly sandy beach with mellow waves suitable for longboarders. One of the most crowded surf areas in Japan.
Kugenuma (Hikichi River Mouth)
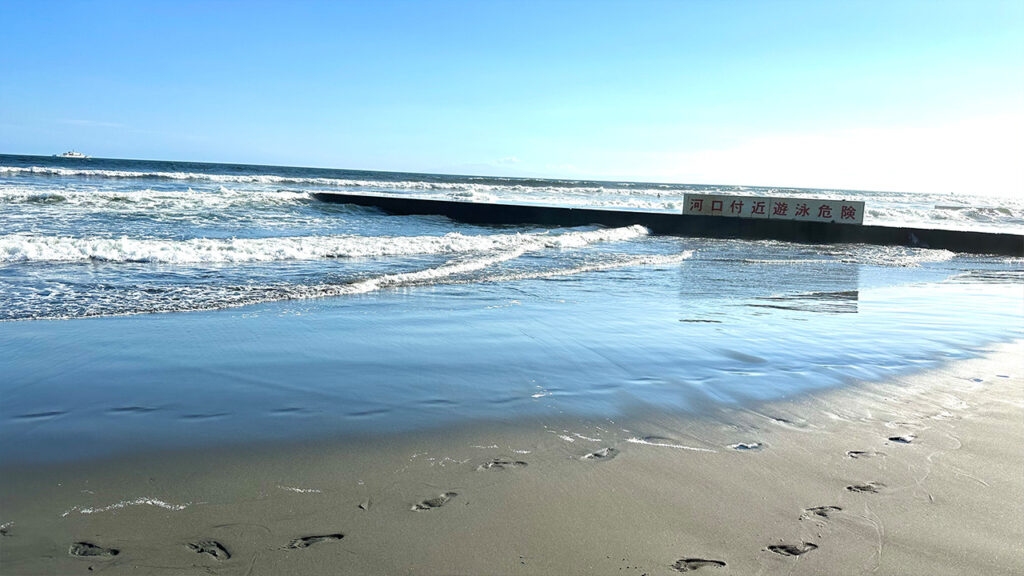
Location
Overview
- Spot Name: Kugenuma (Hikichi River Mouth)
- Seabed: Beach (sand)
- Level: Beginner and above
- Direction: South-southwest
- Swell Direction: West to Southeast
- Best Swell: South-southwest swell
- Features: Consistent and beginner-friendly with mellow waves suitable for longboarders. Always crowded due to its popularity.
Kugenuma (Skate Park Front)
Location
Overview
- Spot Name: Kugenuma (Skate Park Front)
- Seabed: Beach (sand)
- Level: Beginner and above
- Direction: South-southwest
- Swell Direction: West to Southeast
- Best Swell: South-southwest swell
- Features: Consistent waves and beginner-friendly sandy bottom. Mellow waves suitable for longboards. Popular and often crowded.
Kugenuma (Suehiro)
Location
Overview
- Spot Name: Kugenuma (Suehiro)
- Seabed: Beach (sand)
- Level: Beginner and above
- Direction: South-southwest
- Swell Direction: West to Southeast
- Best Swell: South-southwest swell
- Features: Consistent waves, beginner-friendly, and mellow conditions ideal for longboarders. A very popular and crowded area.
Shoyo Junior High Front
Location
Overview
- Spot Name: Shoyo Junior High Front
- Seabed: Beach (sand)
- Level: Beginner and above
- Direction: South-southwest
- Swell Direction: West to Southeast
- Best Swell: South-southwest swell
- Features: Consistent waves and beginner-friendly conditions. Less crowded than Tsujido Front, so walking over is recommended for better conditions.
Funamae
Location
Overview
- Spot Name: Funamae
- Seabed: Beach (sand)
- Level: Beginner and above
- Direction: South-southwest
- Swell Direction: West to Southeast
- Best Swell: South-southwest swell
- Features: Consistent waves and mellow conditions. Less crowded than Tsujido Front, making it a good alternative.
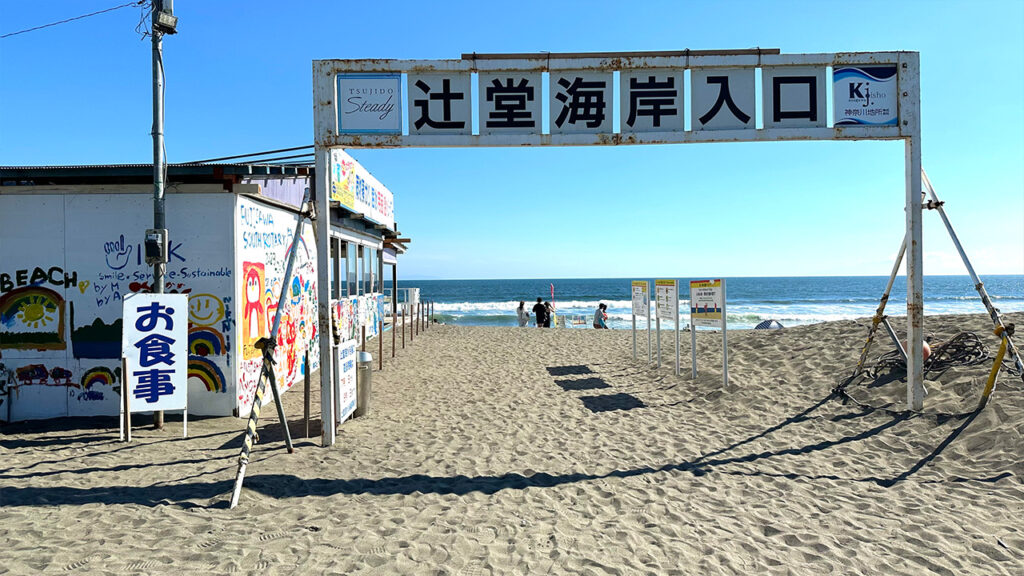
Tsujido Front
Location
Overview
- Spot Name: Tsujido Front
- Seabed: Beach (sand)
- Level: Beginner and above
- Direction: South-southwest
- Swell Direction: West to Southeast
- Best Swell: South-southwest swell
- Features: Consistent and beginner-friendly with mellow waves. A large nearby parking area makes it very convenient but also consistently crowded.
Hashimae
Location
Overview
- Spot Name: Hashimae
- Seabed: Beach (sand)
- Level: Beginner and above
- Direction: South-southwest
- Swell Direction: West to Southeast
- Best Swell: South-southwest swell
- Features: Consistent waves and mellow conditions suitable for beginners. Nearby parking contributes to frequent crowds.
Second Parking Area Front
Location
Overview
- Spot Name: Second Parking Area Front
- Seabed: Beach (sand)
- Level: Beginner and above
- Direction: South
- Swell Direction: West to Southeast
- Best Swell: South swell
- Features: Consistent waves even in small conditions. Beginner-friendly sandy bottom with mellow waves for longboarders. Convenient access and parking make it a popular and crowded spot.
Chigasaki City
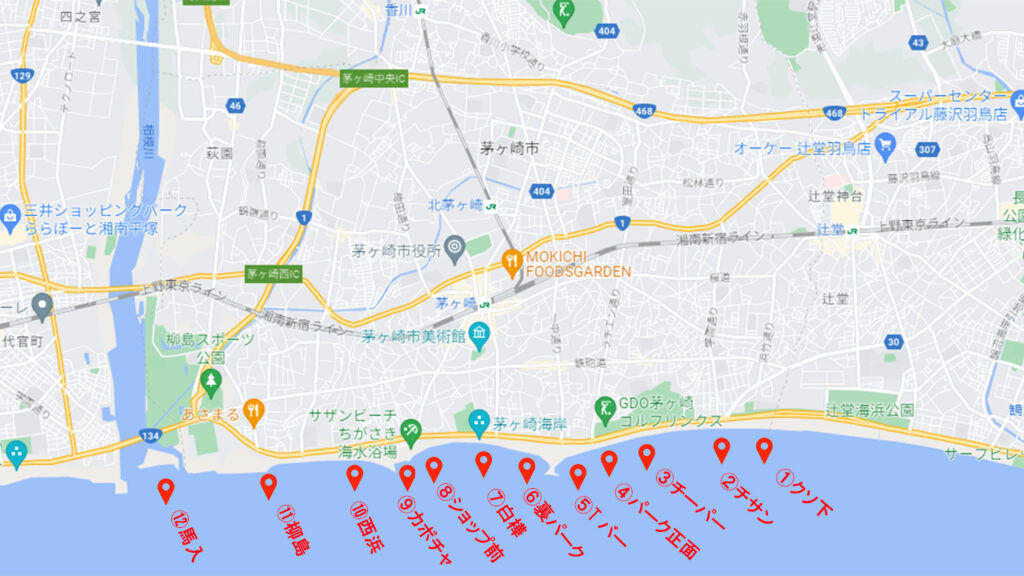
The main surf spots in Chigasaki, Shonan are, from east to west:
Kusoshita, Chisan, Chiper, Park Front, T-Bar, Ura Park, Shirakaba, Shop-shita, Kabocha, Nishihama, Yanagishima, and Banyu.
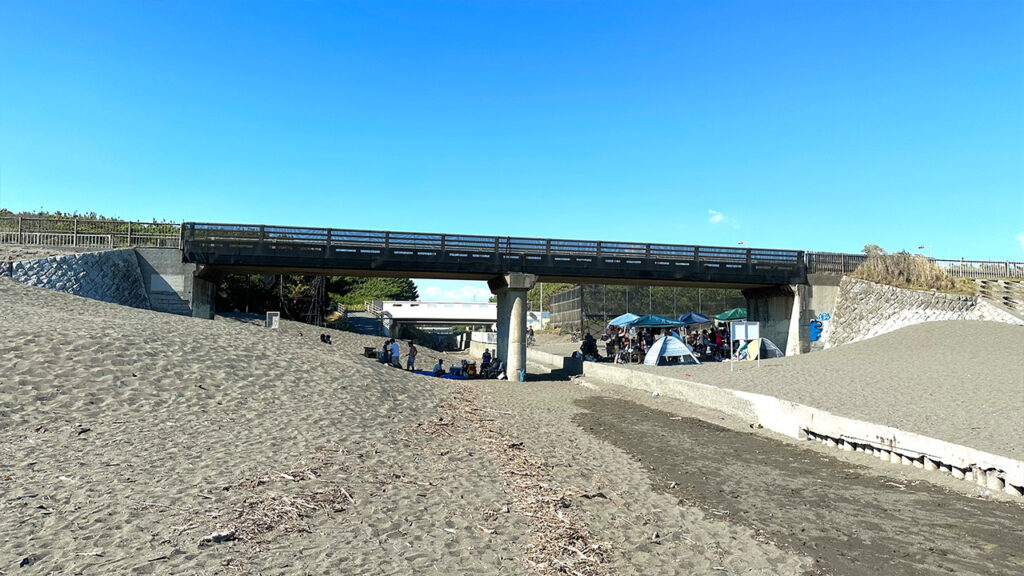
Kusoshita
Location
Overview
- Spot Name: Kusoshita
- Seabed: Beach
- Level: Beginner
- Direction: South
- Swell Direction: Southwest to Southeast
- Best Swell: South swell
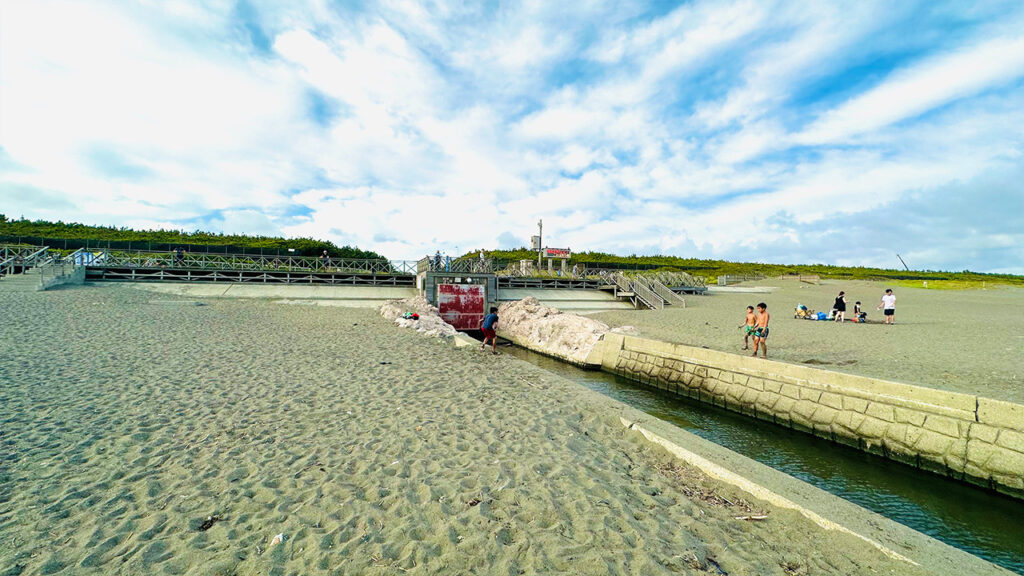
- Features: A consistent spot that works even in small conditions. The sandy seabed makes it safe for beginners. Waves are mellow and suitable for longboarders. Best conditions are waist- to chest-high, as larger waves tend to close out. Sand tends to build up near the river mouth by the wooden deck. Slightly more responsive to swell than Chisan.
Chisan
Location
Overview
- Spot Name: Chisan
- Seabed: Beach
- Level: Beginner
- Direction: South
- Swell Direction: Southwest to Southeast
- Best Swell: South swell
- Features: Consistent and beginner-friendly with a sandy seabed. Mellow waves suitable for longboarders. Best at waist- to chest-high; larger waves tend to close out.
Chiper
Location
Overview
- Spot Name: Chiper
- Seabed: Beach
- Level: Beginner
- Direction: South-southeast
- Swell Direction: Southwest to Southeast
- Best Swell: South-southeast swell
- Features: A consistent, beginner-friendly spot located between Chisan and Park. Mellow waves ideal for longboarders. Less crowded than Park Front, so walking over is recommended.
Park Front
Location
Overview
- Spot Name: Park Front
- Seabed: Beach
- Level: Beginner
- Direction: South-southeast
- Swell Direction: Southwest to Southeast
- Best Swell: South-southeast swell
- Features: Consistent waves with mellow conditions suitable for beginners and longboarders. Best at waist- to chest-high.
T-Bar
Location
Overview
- Spot Name: T-Bar
- Seabed: Beach
- Level: Beginner
- Direction: Southeast
- Swell Direction: South to Southeast
- おすすめ
- Features: Consistent and beginner-friendly. Often smaller than nearby spots, but produces clean waves when conditions align. Sand buildup creates good right-hand waves. Be cautious of rip currents during larger swells.
Ura Park
Location
Overview
- Spot Name: Ura Park
- Seabed: Beach
- Level: Beginner
- Direction: Southwest
- Swell Direction: Southwest to South
- Best Swell: Southwest swell
- Features: Consistent and slightly smaller than nearby spots. Mellow waves suitable for longboarders. Sandbars can create good left-hand waves. Watch for rip currents during larger conditions.
Shirakaba
Location
Overview
- Spot Name: Shirakaba
- Seabed: Beach
- Level: Beginner
- Direction: South
- Swell Direction: Southwest to Southeast
- Best Swell: South swell
- Features: Works even in small conditions but is often smaller than nearby spots. Mellow waves suitable for longboarders. A live camera is available to check conditions.
Shop-shita
Location
Overview
- Spot Name: Shop-shita
- Seabed: Beach
- Level: Beginner
- Direction: South-southeast
- Swell Direction: Southwest to Southeast
- Best Swell: South-southeast swell
- Features: Consistent and beginner-friendly with mellow waves suitable for longboarders.
Kabocha
Location
Overview
- Spot Name: Kabocha
- Seabed: Beach
- Level: Beginner
- Direction: Southeast
- Swell Direction: South to East-southeast
- Best Swell: Southeast swell
- Features: Usually inconsistent, but can offer clean waves when nearby spots are too rough. Beginner-friendly sandy bottom. Watch for rip currents during larger swells.
Nishihama
Location
Overview
- Spot Name: Nishihama
- Seabed: Beach
- Level: Beginner
- Direction: South-southwest
- Swell Direction: South-southwest to South
- Best Swell: South-southwest swell
- Features: Consistent waves with both left and right breaks. Beginner-friendly and suitable for longboarders. Watch for rip currents during larger conditions.
Yanagishima
Location
Overview
- Spot Name: Yanagishima
- Seabed: Beach
- Level: Beginner
- Direction: South
- Swell Direction: Southwest to Southeast
- Best Swell: South-southeast swell
- Features: Consistent waves and beginner-friendly sandy bottom. Mellow waves ideal for longboarders.
Banyu


Location
Overview
- Spot Name: Banyu
- Seabed: Beach
- Level: Beginner
- Direction: South
- Swell Direction: Southwest to Southeast
- Best Swell: South swell
- Features: Located at the Sagami River mouth, where sand accumulation creates good sandbars. Consistent and beginner-friendly with mellow waves. A live camera is available to check conditions.
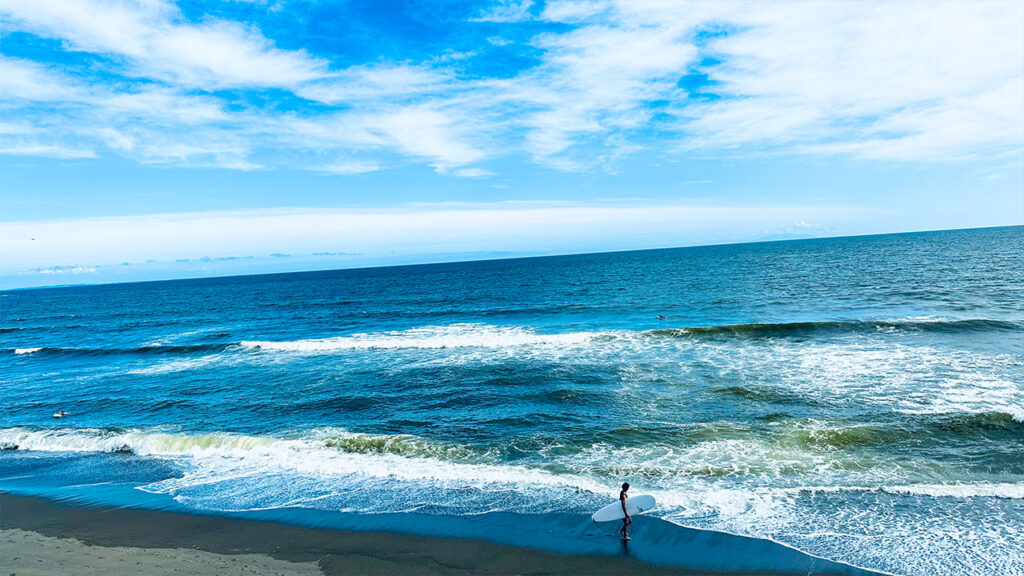
Hiratsuka City
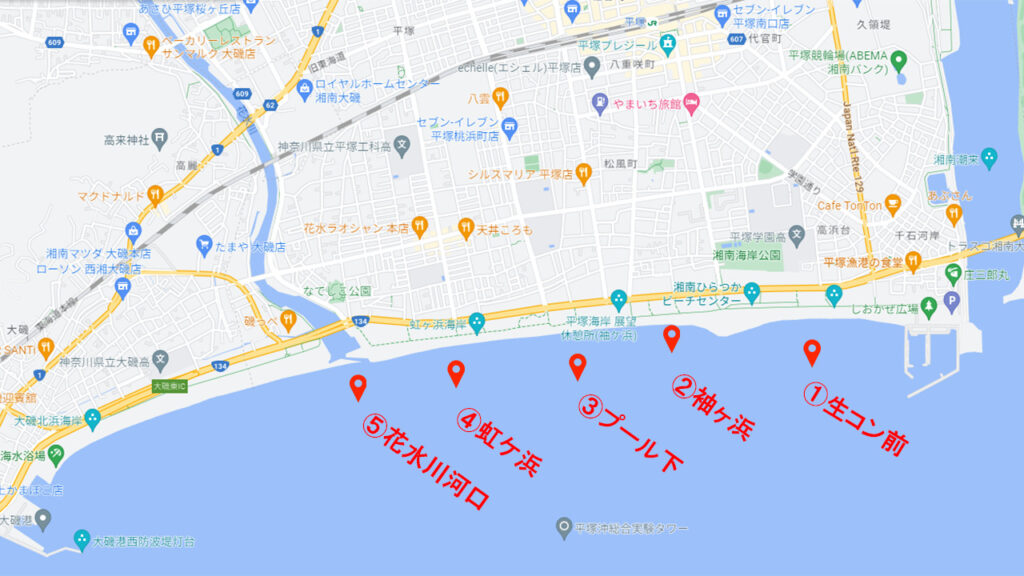
The main surf spots in Hiratsuka, Shonan are, from east to west:
Namakon-mae, Sodega-hama, Pool-shita, Nijigahama, and Hanamizu River Mouth.
Namakon-mae
Location
Overview
- Spot Name: Namakon-mae
- Seabed: Beach (sand)
- Level: Beginner and above
- Direction: South
- Swell Direction: West-southwest to Southeast
- Best Swell: South swell
- Features: The sandy seabed makes it suitable for beginners. Waves are generally soft but shore-break heavy, with thick and powerful sections. It is a consistent spot, but when good waves come in, it can get crowded. Be sure to follow surfing rules and etiquette.
Sodega-hama
Location
Overview
- Spot Name: Sodega-hama
- Seabed: Beach (sand)
- Level: Beginner and above
- Direction: South
- Swell Direction: Southwest to Southeast
- Best Swell: South swell
- Features: A beginner-friendly sandy beach with consistent waves. The waves are soft but can have a shore-break feel with some power. This area becomes crowded when conditions are good, so be mindful of surf etiquette.
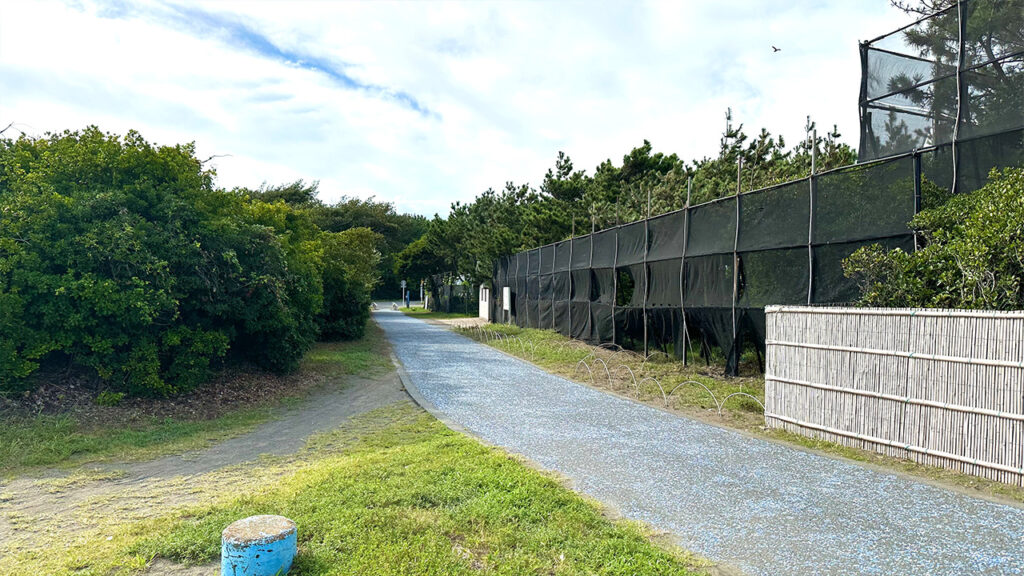
Pool-shita
Location
Overview
- Spot Name: Pool-shita
- Seabed: Beach (sand)
- Level: Beginner and above
- Direction: South
- Swell Direction: Southwest to Southeast
- Best Swell: South swell
- Features: Beginner-friendly with a sandy bottom and consistent waves. Waves are mellow but somewhat shore-break and powerful. There are no parking, restroom, or shower facilities here, so it is less crowded than nearby spots. Walking access is recommended.
Nijigahama
Location
Overview
- Spot Name: Nijigahama
- Seabed: Beach (sand)
- Level: Beginner and above
- Direction: South
- Swell Direction: Southwest to Southeast
- Best Swell: South swell
- Features: A consistent, beginner-friendly beach break with mellow but slightly powerful waves. Limited parking and no facilities help reduce crowds compared to nearby areas. Walking access is recommended.
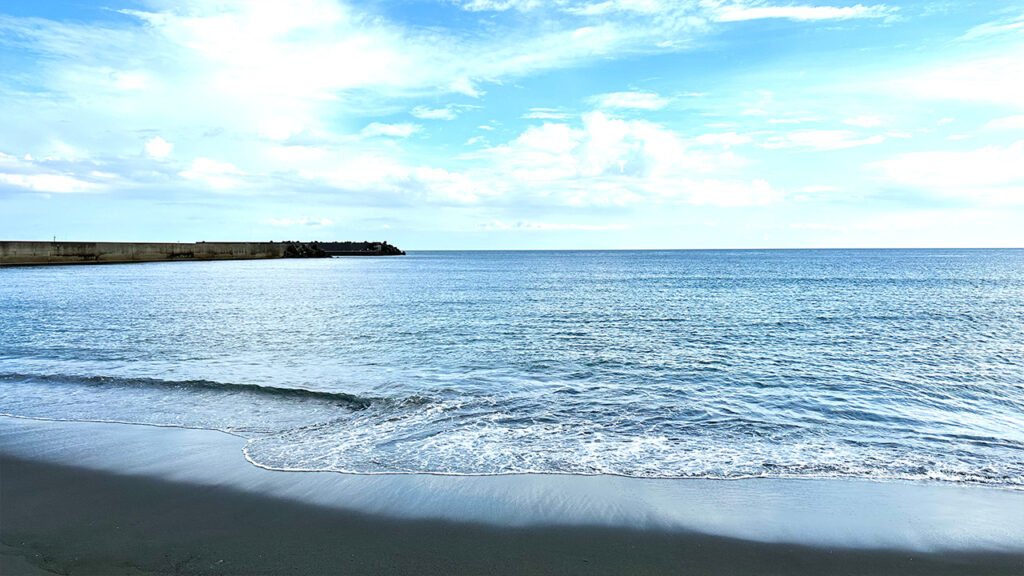
Hanamizu River Mouth
Location
Overview
- Spot Name: Hanamizu River Mouth
- Seabed: Beach (sand)
- Level: Beginner and above
- Direction: South-southeast
- Swell Direction: Southwest to East-southeast
- Best Swell: South-southeast swell
- Features: A consistent and beginner-friendly spot with a sandy seabed. Waves are mellow but slightly shore-break and powerful. There are no parking, restroom, or shower facilities, making it less crowded than nearby spots. Walking access is recommended.
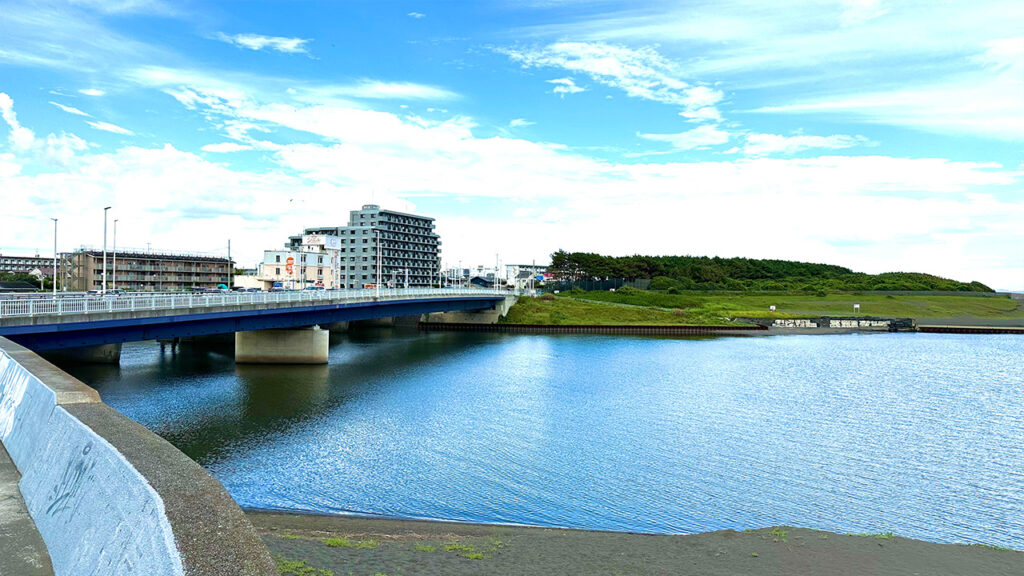
Oiso Town
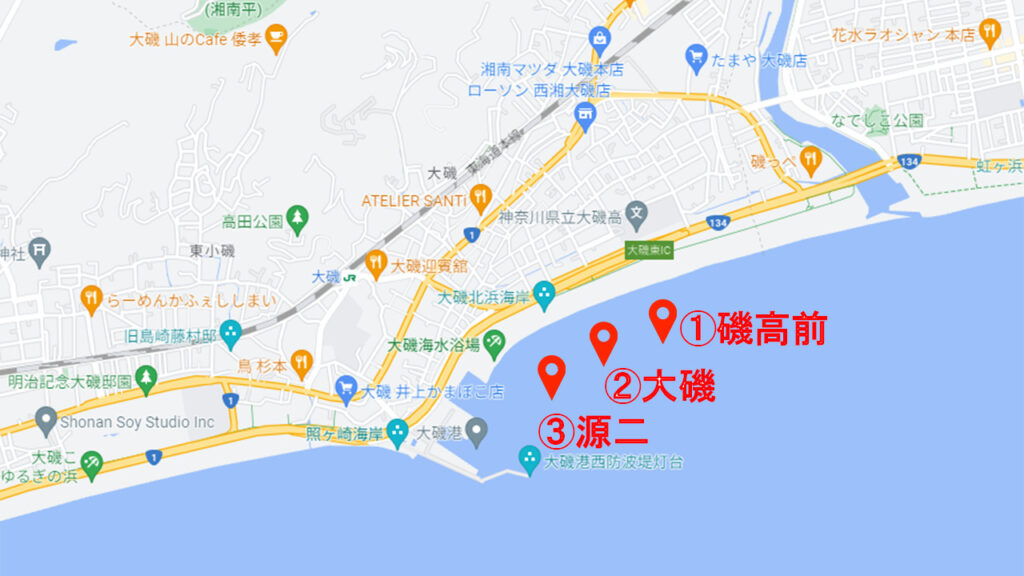
The main surf spots in Oiso, Shonan are, from east to west: Isokomae, Oiso, and Genji.
Isokomae
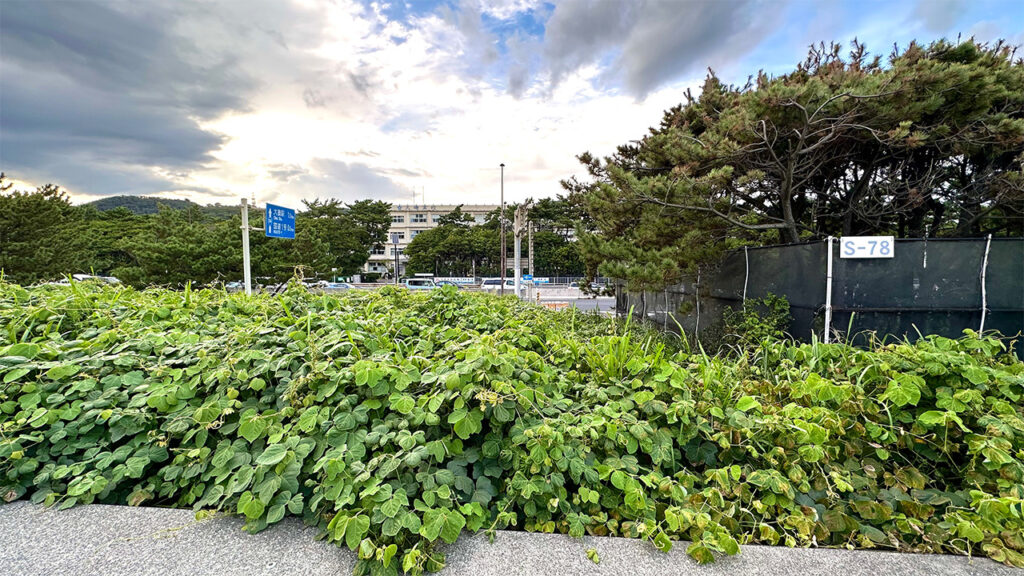
Location
Overview
- Spot Name: Isokomae
- Seabed: Beach (sand)
- Level: Beginner and above
- Direction: South-southeast
- Swell Direction: Southwest to East-southeast
- Best Swell: South-southeast swell
- Features: The sandy seabed makes it suitable for beginners. Waves are generally mellow but have a shore-break feel, with thick and powerful sections. It is a consistent spot, but can become crowded when conditions are good. Be sure to follow surfing rules and etiquette.
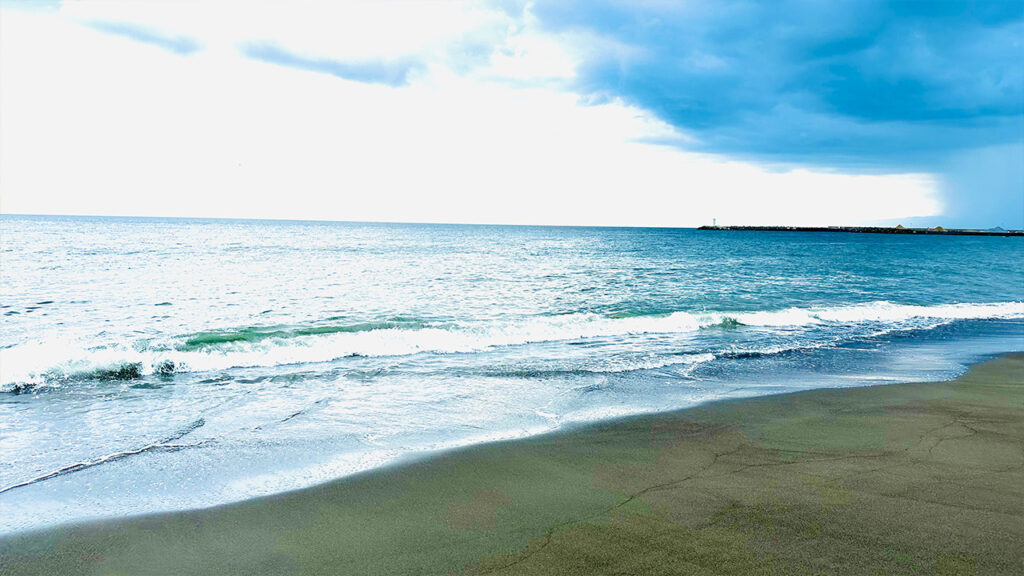
Oiso
Location
Overview
- Spot Name: Oiso
- Seabed: Beach (sand)
- Level: Beginner and above
- Direction: South-southeast
- Swell Direction: Southwest to East-southeast
- Best Swell: South-southeast swell
- Features: A beginner-friendly beach break with a sandy bottom. Waves are mellow but slightly shore-break and powerful. It is a consistent spot, but becomes crowded when the waves are good, so be mindful of surf etiquette.
Genji
Location
Overview
- Spot Name: Genji
- Seabed: Beach (sand)
- Level: Beginner and above
- Direction: Southeast
- Swell Direction: South to East-southeast
- Best Swell: Southeast swell
- Features: Surfable when strong swells arrive from typhoons or low-pressure systems. The sandy seabed makes it suitable for beginners. Waves are mellow and enjoyable for longboarders. It can become crowded when conditions are good, so follow proper surfing etiquette.
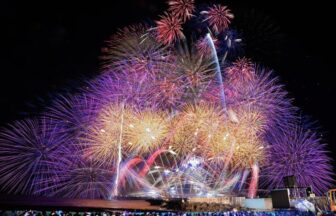
Stay Tuned with “Shonan Chill Time” – Your Go-To Guide for Shonan Events!

How was it?
This article introduced recommended surf spots in Shonan Area!
At Shonan Chill Time, we are committed to bringing you the best and latest news from the Shonan area! Make sure to bookmark our site and stay up to date with exciting local events, special offers, and hidden gems.
For real-time updates, follow us on Shonan Chill Time’s Official Twitter (X). We share exclusive photos and the latest news about Shonan’s vibrant lifestyle. Let’s explore the beauty of Shonan together!
End.
▼The Japanese version of this article is here!
>>【2026年最新版】湘南エリアでおすすめのサーフポイント一覧【完全版】
I am deeply passionate about the Hanshin Tigers.
My dream is to own a house along Katase Beach.
Special skills: saving money, and making blunders at drinking parties.